Baby Shower Cupcake Toppers…Final Instalment
It’s been a few months since I started the baby shower cupcake topper series of blogs. I did promise to do all four, so here are the last ones. Originally each blog contained just one style of topper, this week we’ll finish off with two toppers in the one blog. I’ll look at the booties and the BOY toppers – both of which are ever so simple.
As these were made as part of a set – so to speak – they are the same colours as the toppers in the previous two blogs. But as you know; it is more about the steps to making them, not the colours that were used as you can choose your own colour combinations.
Booties Topper
To make the little pairs of booties you will need three basic shapes per boot. An oval shape (about the size of your pinkie fingernail) to form the foot or boot, a small ball (a third of the size of the oval) to create the ankle band and a tiny little coil (snake as my daughter calls it) for the toe seam on top of the booties. Using a veining tool and a toothpick, create details for stitching and ribbed texture on the booties. I found it easier to make all of the oval shapes that I needed, then all of the ball shapes and the coils were made by making one long one and cutting it into pieces. If you make the shapes this way you will find that it is easier to keep them all a similar size. I think it’s quicker too.
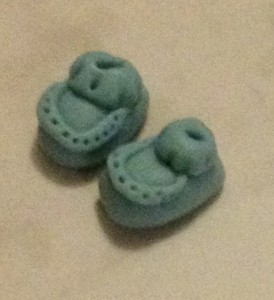
Once the oval, ball and coil have been stuck together prick the coil with a toothpick for stiching detail. Insert the toothpick into the ball – careful not to go all the way through – and give it a little wiggle to create the opening in the top of the boot. Use the veining tool or toothpick press in the ribbing pattern around the edge of the ball/ankle band. If you wanted to you could put 2 little coils hanging down like laces or a bow near the ankle band.
Roll out the fondant for the bottom of the topper (use your pasta machine if you have one). I used a flower cutter, but you could choose any shape to suit your event or style. In each petal I added a small ball of white fondant and pressed it with the balling tool to create little eyelets or details and add more colour. On top of that I added a small circle of darker blue fondant – again just to keep with the colour scheme in the other toppers.
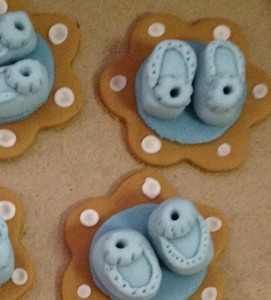
Once booties are made pair them up and look at their size and shape. Some will look better together than others.
Using a little dab of water or fondant glue attach the cut out pieces together while they are still soft and sit the booties on top. Viola! done…
BOY Topper
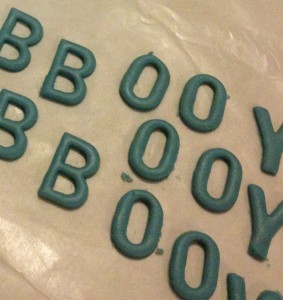
These were really simple as I used a set of alphabet cutters to cut the text. You could cut them by hand, but it would take a little longer. If you don’t have alphabet cutters, you could also roll coils and shape your text, rather than trying to cut the letters by hand. Tip: I always cut more than I need to allow for breakages. Roll out your fondant, again it’s easy to do with the pasta machine and they will all be even. Cut out the letters. So that I could stack mine I left them to dry and harden, but if you want to you can stick them onto the topper as you cut them – there would be less chance of breakage too.
As we did in previous toppers, cut out two different sized topper shapes in different colours (these were circles). Stick them together with a little water or glue.
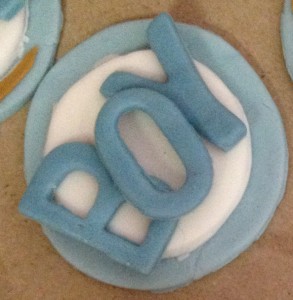
It’s not just the length of the word that matters. Font and size determines how well the word will fit onto the topper too. Having alphabet cutters won’t necessarily mean they will suit your topper.
To add the fourth colour and a little extra detail I rolled some very small thin brown coils and squiggled them on the top and bottom rim of the topper, then flattened them with a rub of the balling tool – don’t press too hard. Once the letters had dried they were arranged and glued in place. They were very delicate and they were thin and hard so I used a palette knife to help with handling them and lifting them into place. There were still breakages though.
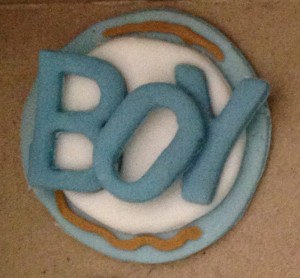
The brown fondant squiggle could have been drawn on with an edible pen or hand painted stiching with food colour.
So that is all four baby shower toppers. Very simple and effective. As toppers for cupcakes are generally small they don’t need to be overcrowded and intricate, keeping the design simple and clean with few colours can be just as impressive.
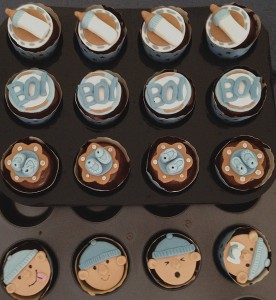
All four toppers together. You can see how having a colour scheme works in making different topper designs come together as a set.
There are so many different things you can make for baby-themed cakes. Bottles and booties are just the beginning. Rattles, dummies, bibs and bonnets can be stylised to create simple yet effective toppers too. Get creative and keep it simple, happy baking!




Leave a Reply
Want to join the discussion?Feel free to contribute!