


Dinosaur Gggrrravity cake…
I have wanted to make a gravity cake for ages…they’re the ones with the gravity-defying floating packet spilling mountains of M&M’s over a cake below, you know the ones;
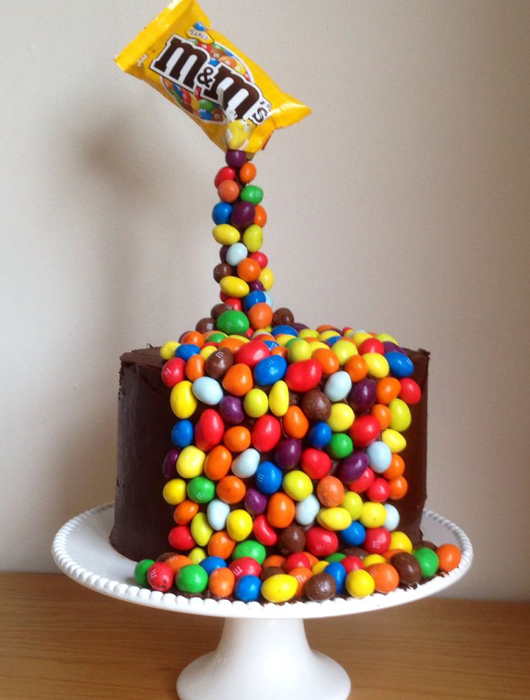
no image source; retrieved from google images.
There are many versions of gravity cakes and not all use lollies or chocolates. My cake; however, was for my brother-in-law who is lactose-free and his favourite lollies are the Natural Confectionary Company’s dinosaurs – always up for the challenge I managed to create a gravity cake using his favourite dinosaur lollies to show you ‘how-to’ and that you can use anything to create a gravity cake you’ll love.
The Set Up
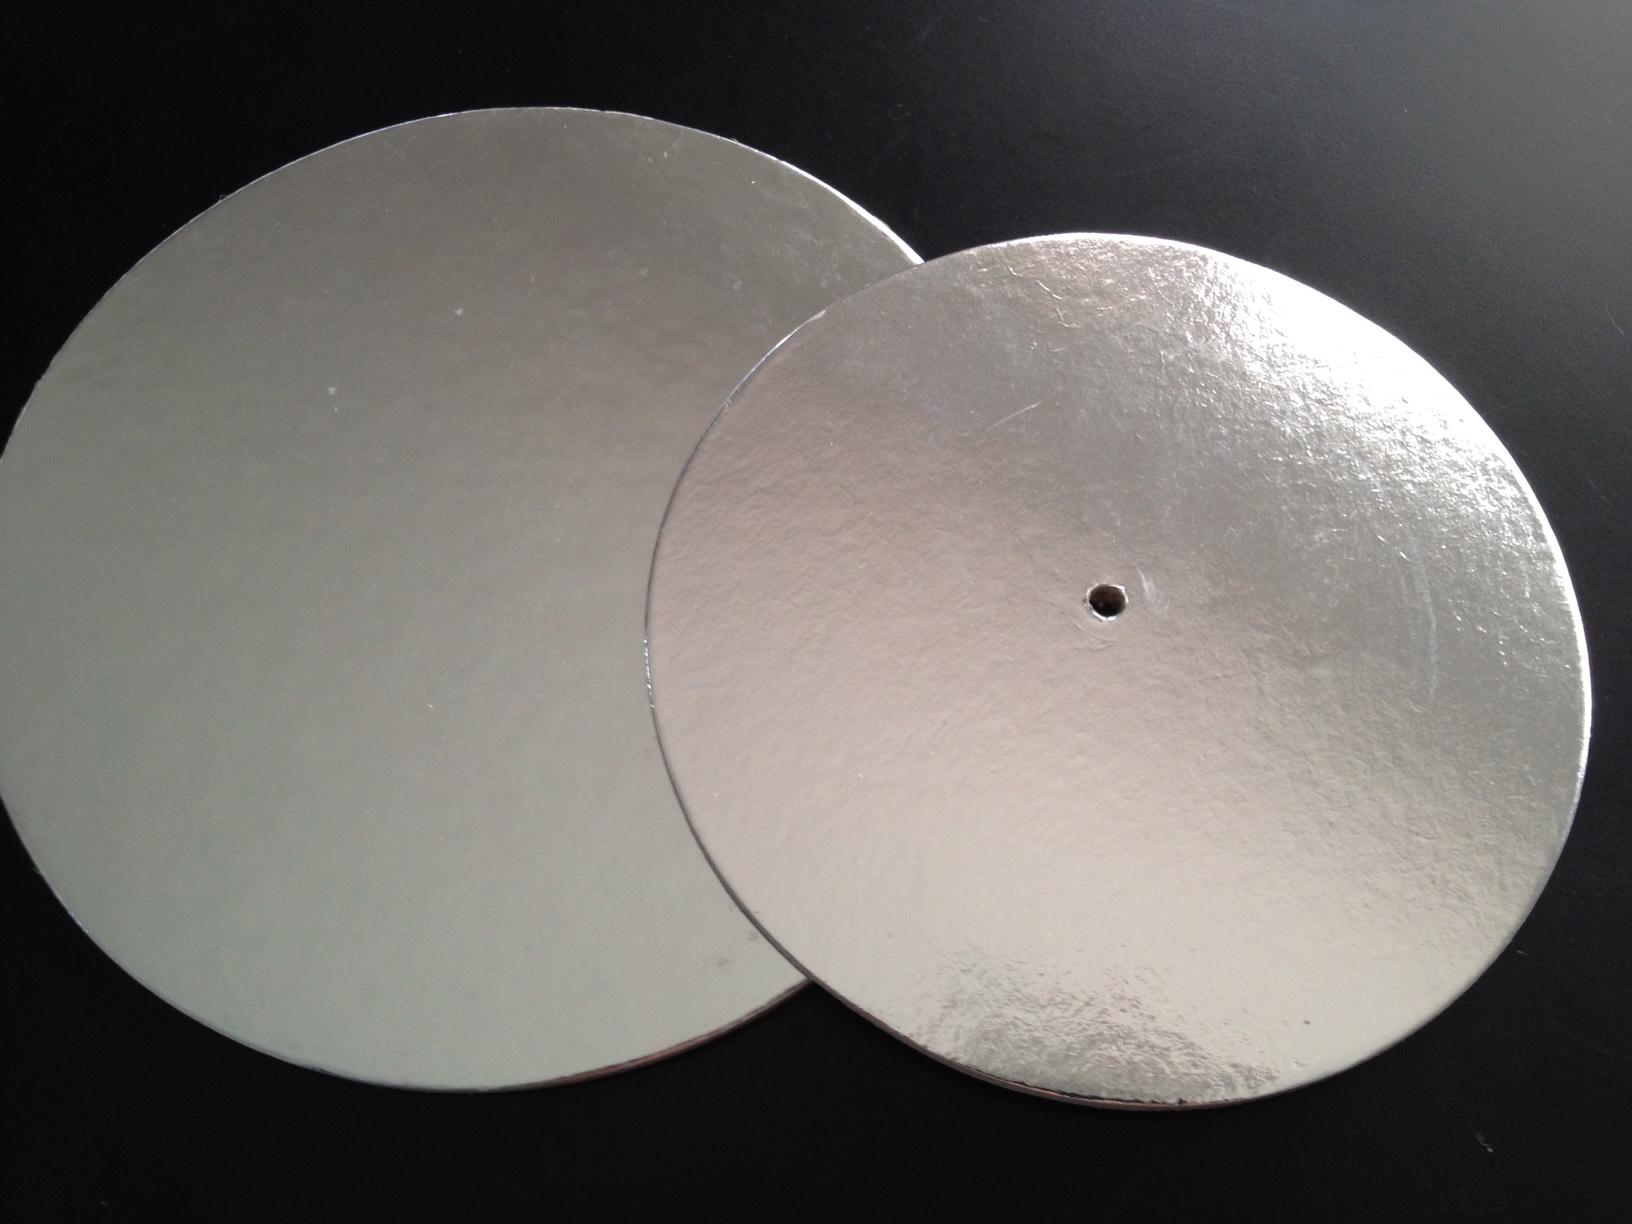
You’ll need a cake board for the size cake or cakes that you bake.
I made a two-tiered cake, so the board for the top tier needed a hole in the centre for our support stick to go through. If you only make a single tiered cake the hole is not needed.
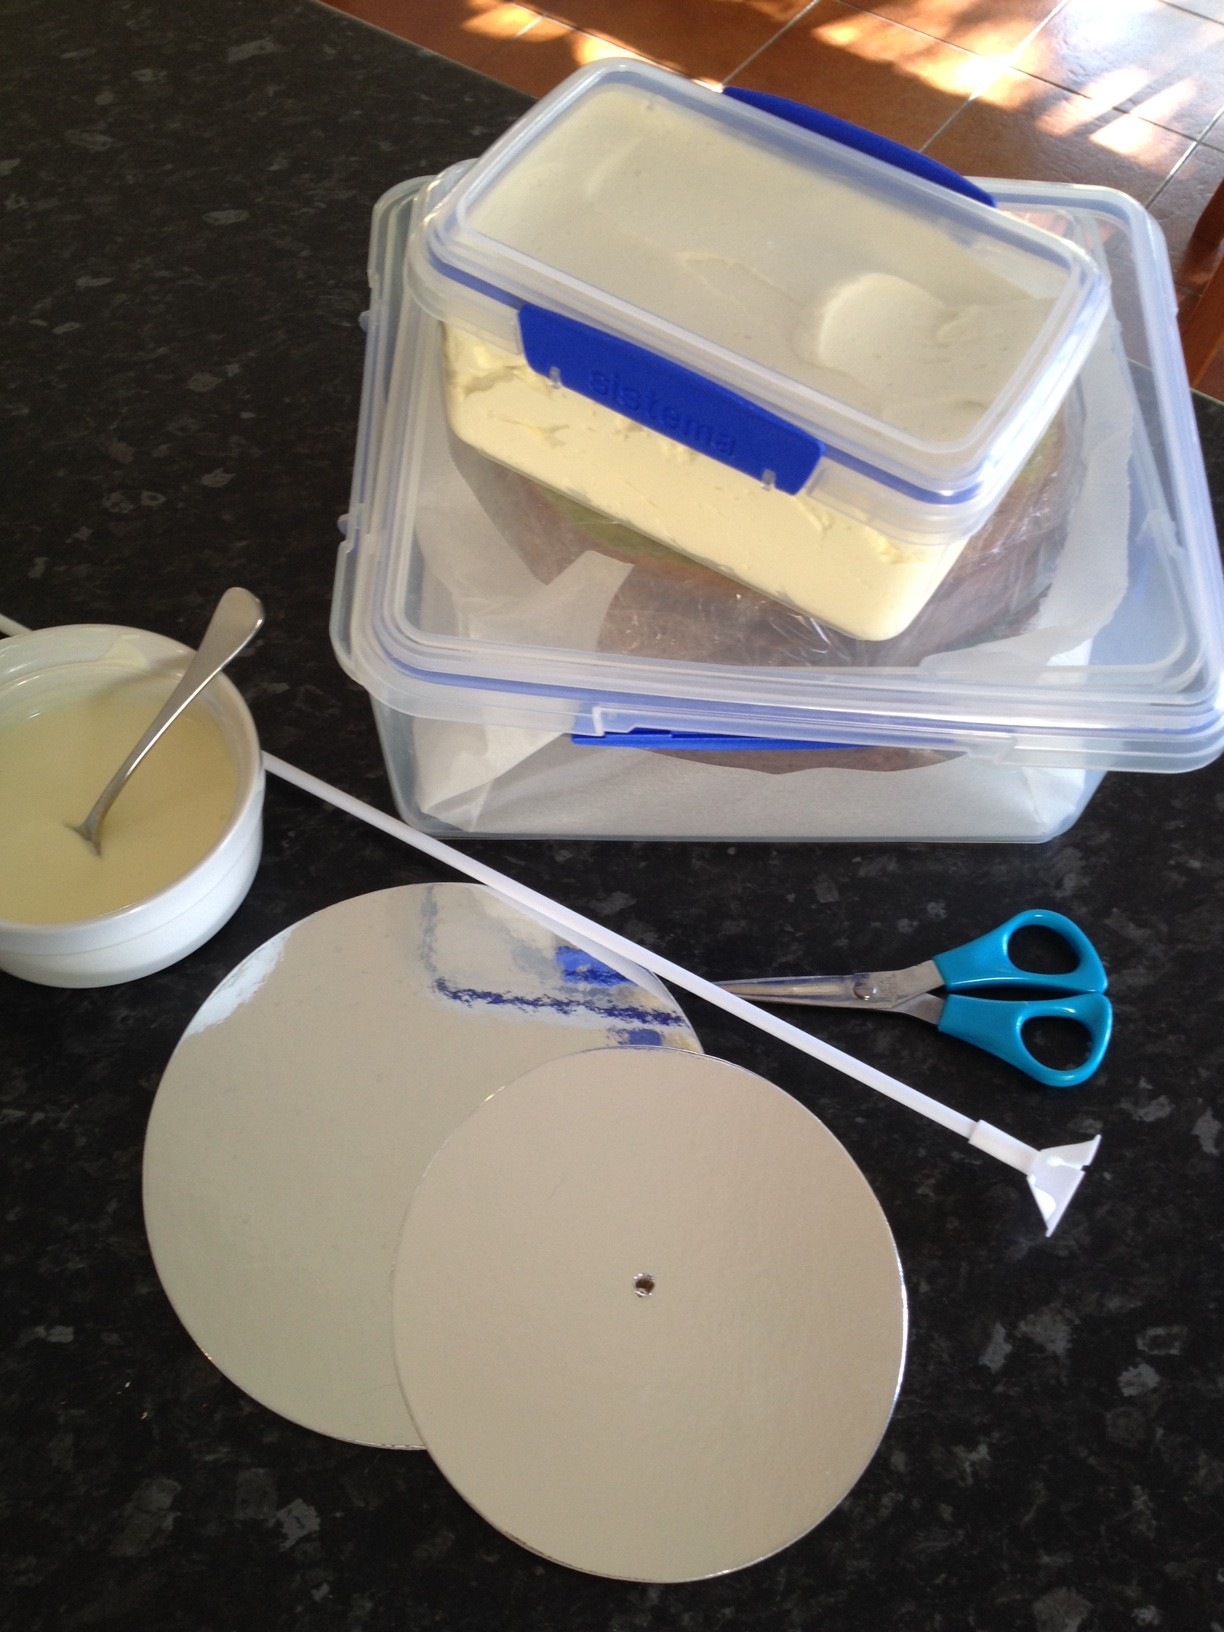
You will need:
Cake boards, cakes, icing or ganache, 3 0r 4 packets of chosen lollies, melted chocolate, a balloon stick with the cup on the end and scissors.
You will also need cotton balls to fill the lolly packet and when opening the lollies make sure that you open one of the packets neatly with scissors. Try not to damage the packet and keep it to one side as it will be used as part of the decoration on top of the cake.
Constructing the Cake
You’ll laugh at how simple this really is…and as usual your imagination is your only limit!

Take the board for your bottom cake and using the melted chocolate, secure the balloon cup to the centre of the board like this.
From the image above you can see that I simply dipped the balloon cup into the chocolate; if you prefer, a small smear of chocolate on the cake board will do just as well. Then start stacking the cakes.
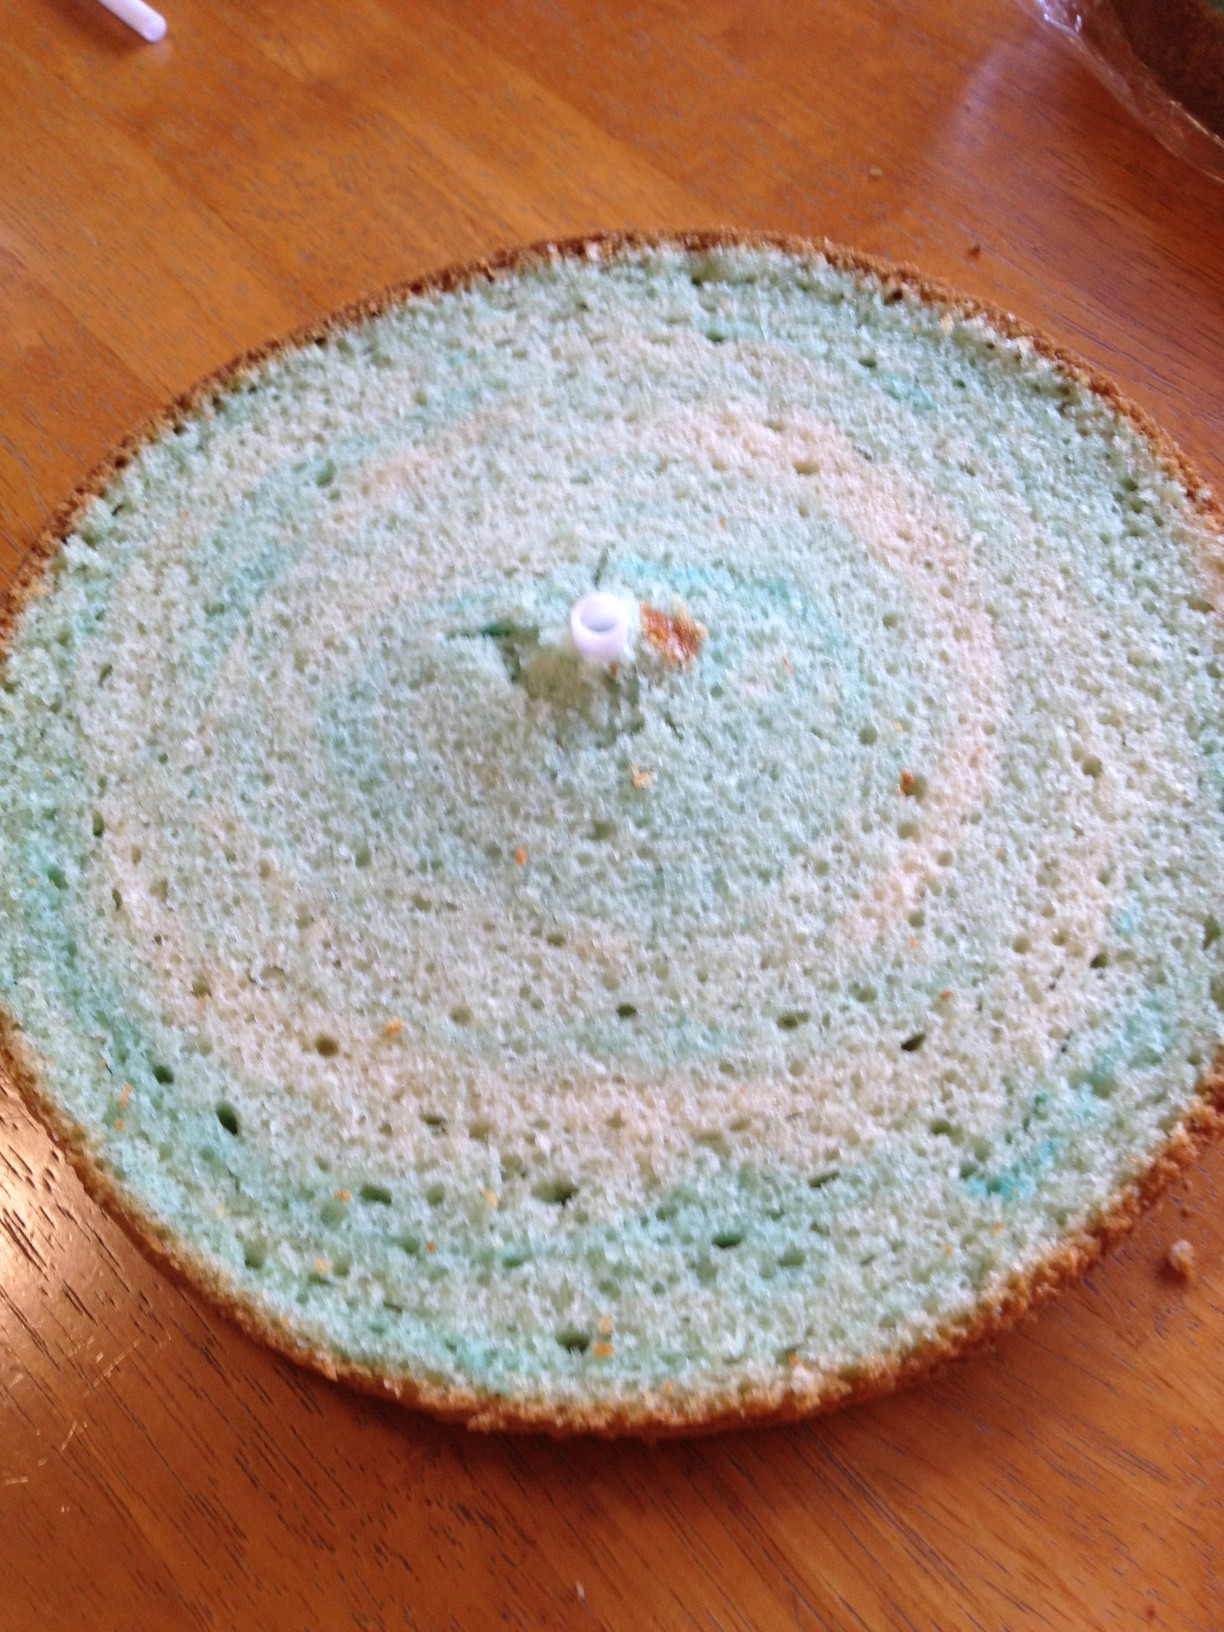
Make sure you centre the cake on the board and pop it over the balloon cup, allowing it to poke through.
I didn’t pre-cut holes in the cake. By placing it over the cup and having it poke through the cake, the crumbs settle around the stem and there are no gaps 🙂
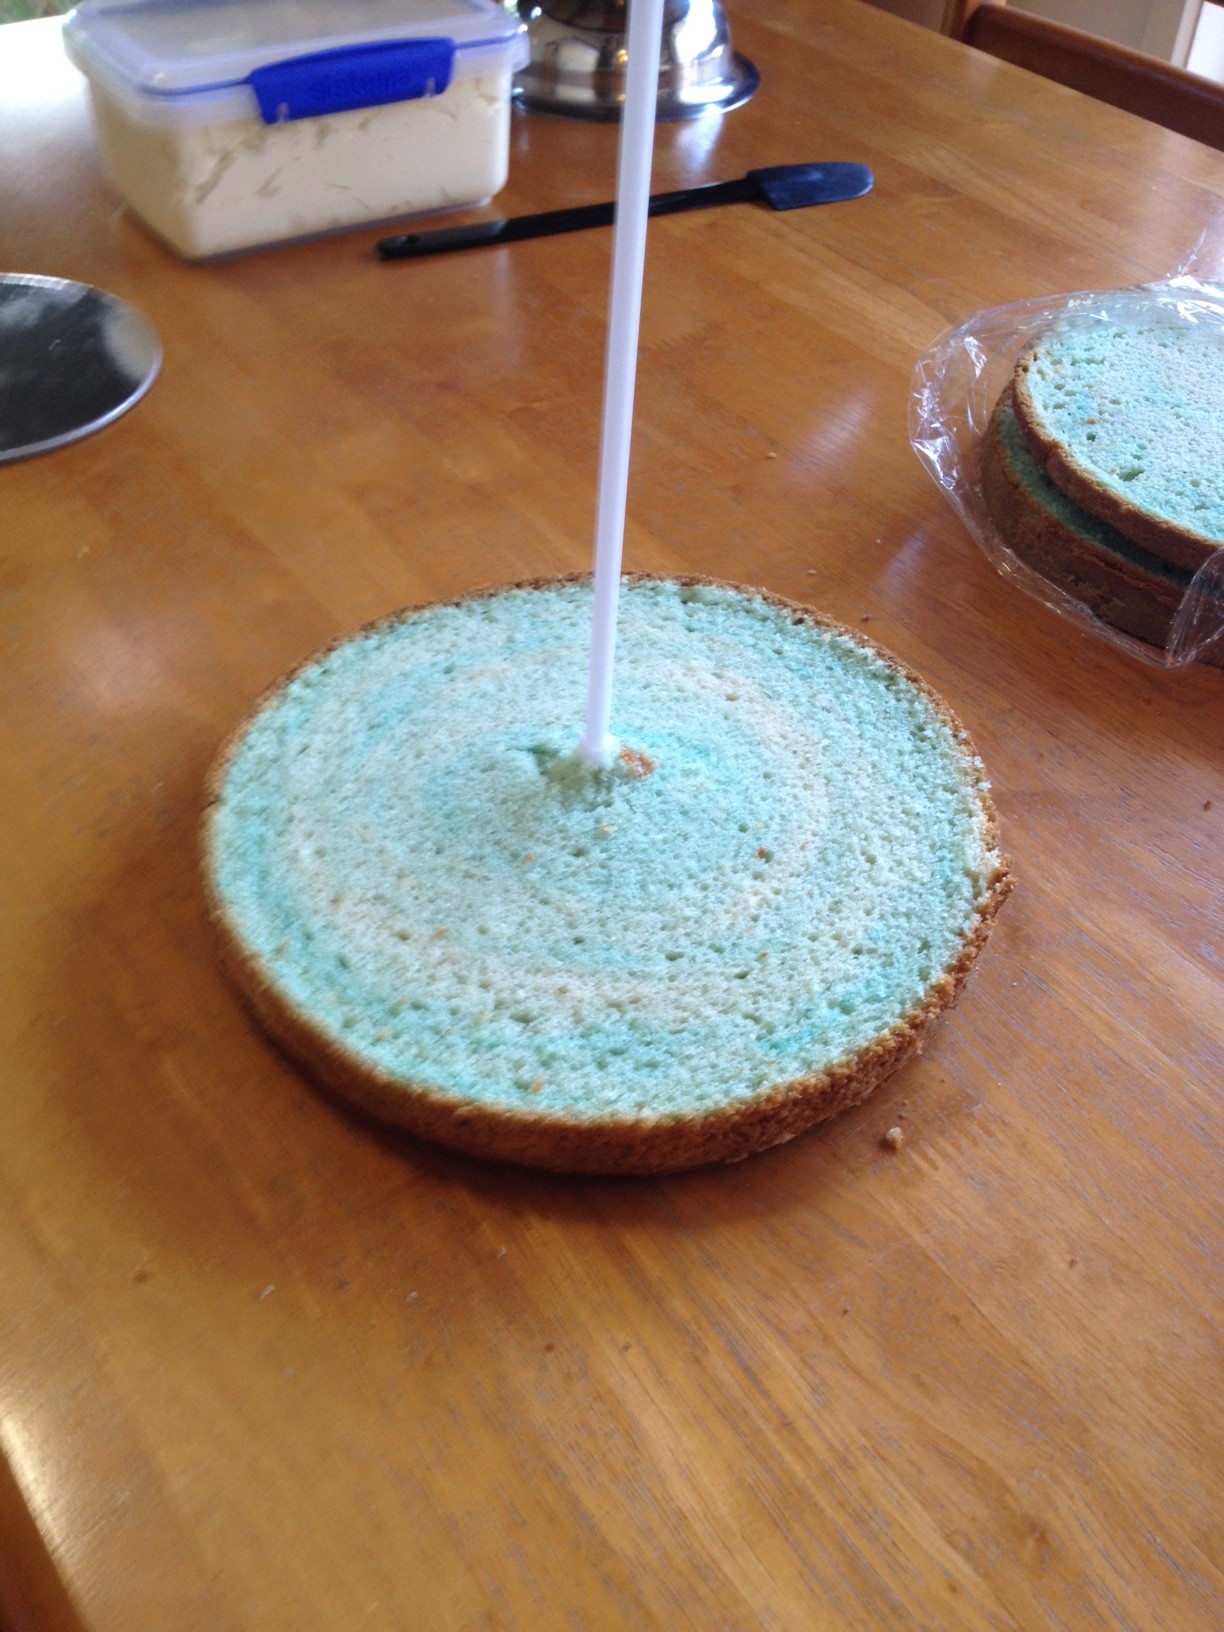
Place the balloon stick back into the cup before adding more layers or you will loose the cup.
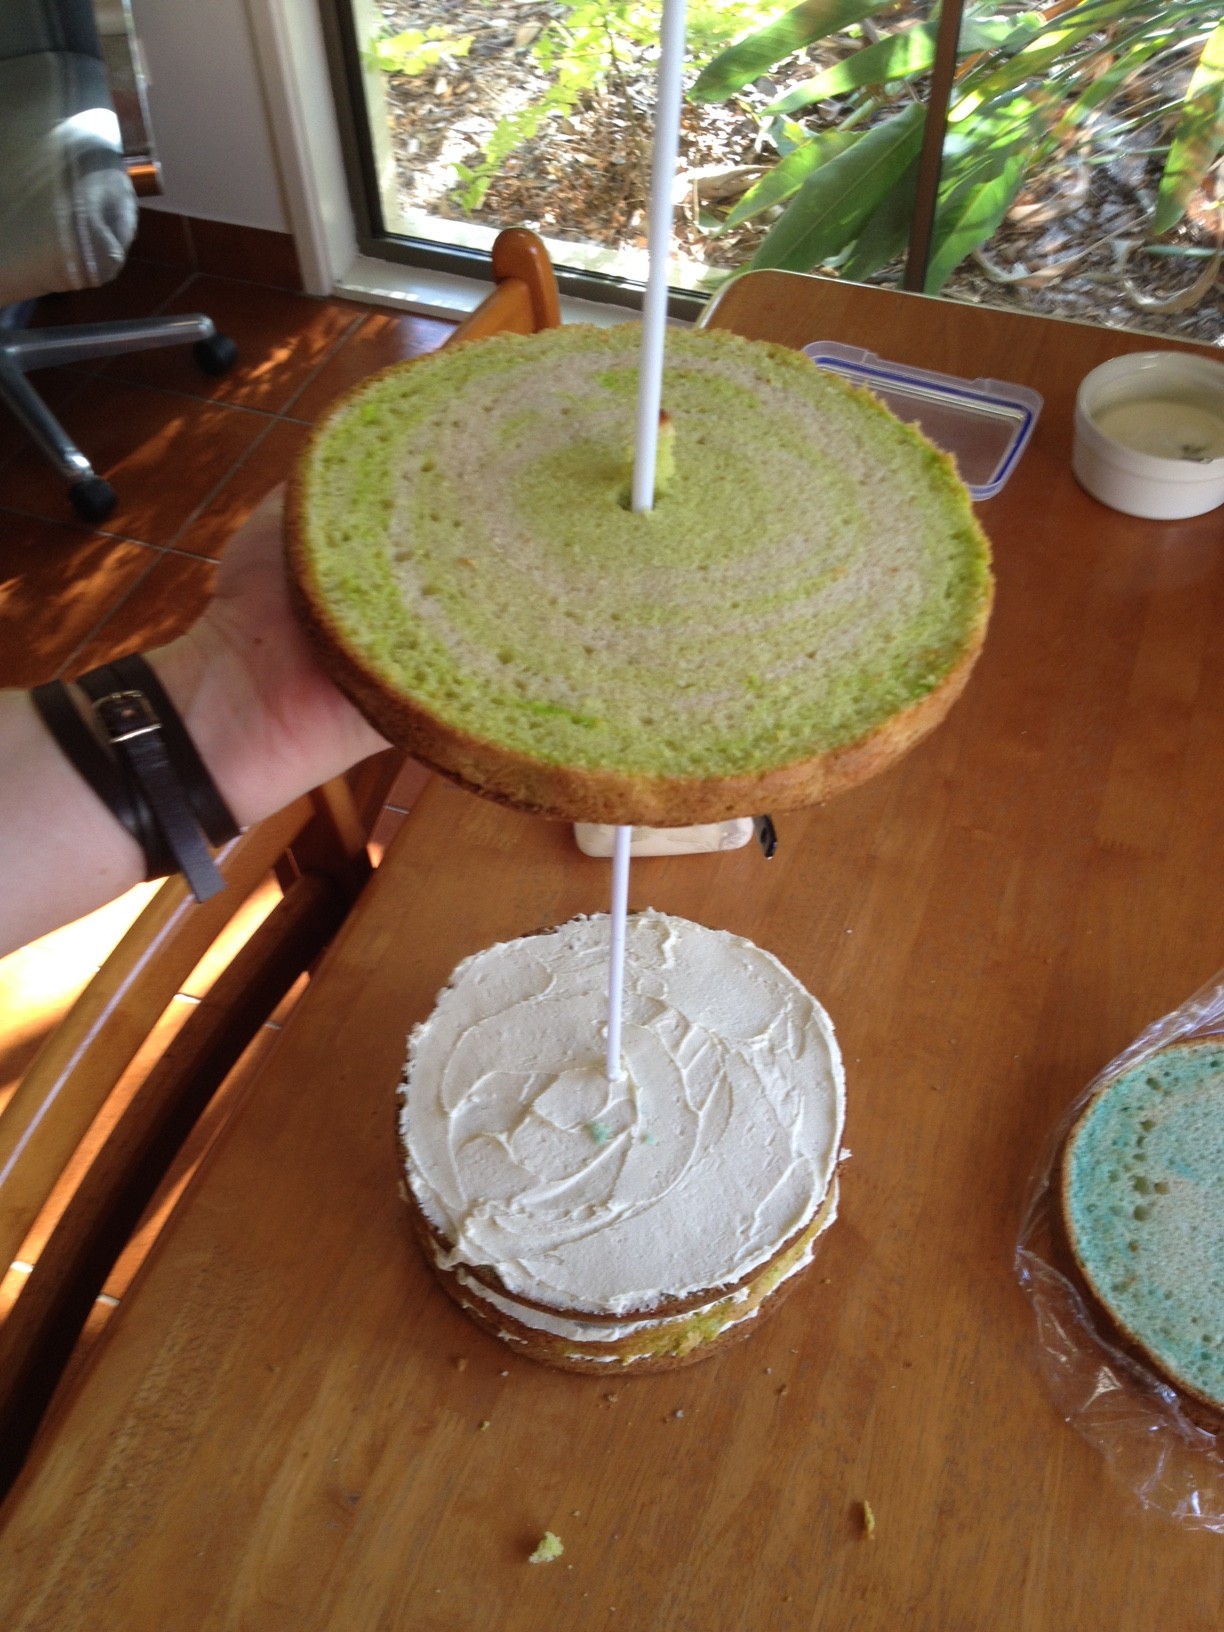
Ice and repeat being careful when you slide each layer onto the balloon stick.
I made two types of icing for my cake. I used a simple butter frosting to fill the layers and a Swiss Meringue Buttercream for the outer icing. You can see in this photo that the butter frosting is really white, that was something else I experimented with and will blog about – I was so excited at how white it was lol.
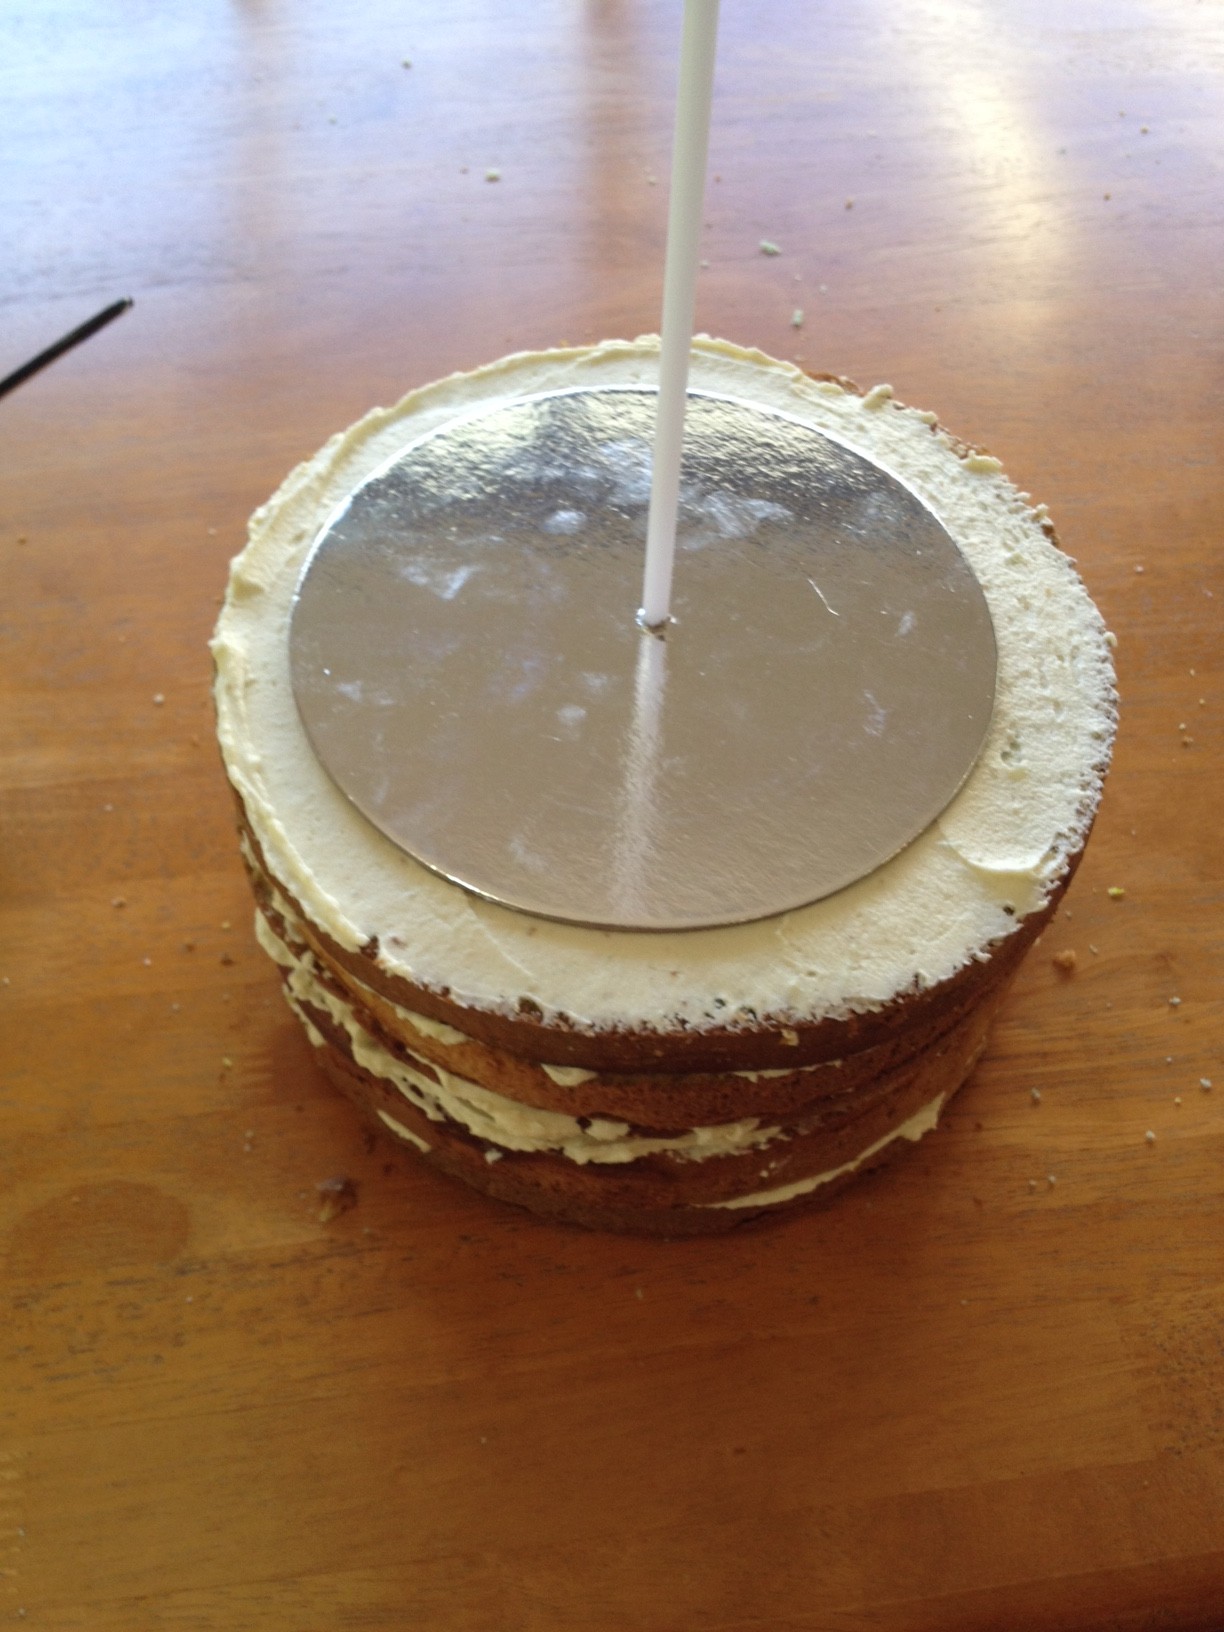
Slide the board for the top tier over the balloon stick once the bottom tier is stacked.
I have placed the top tier to one side very slightly to account for the flow of lollies over the side of the cake. It just gives that little bit more room for more lollies. Then continue stacking the top tier in the same fashion.
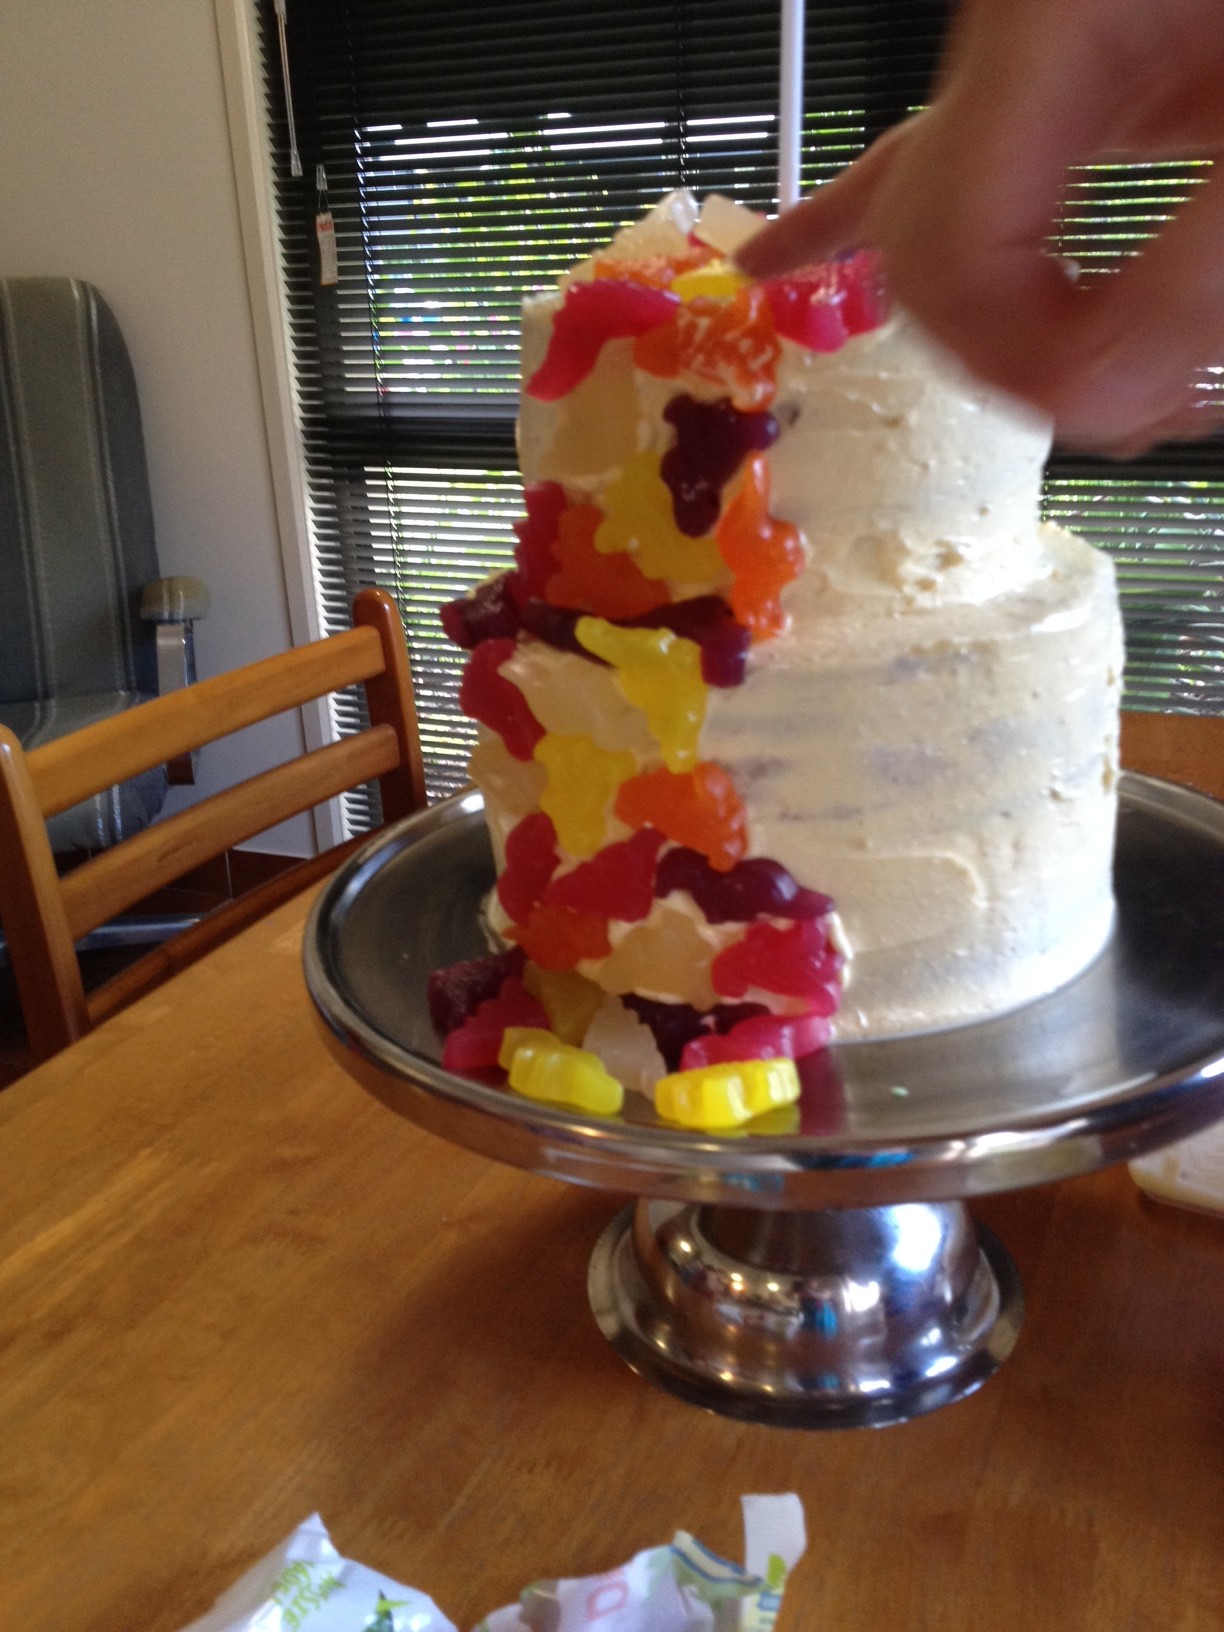
Ice or ganache the outside of the cake before adding lollies from the bottom and working your way up to the top.
If you want a nice sharp edge you’ll need to ice a crumb-coat or ganache to fill in the sides and allow it to set before you apply a final coat. Here in Queensland it’s currently 38 degrees and between 70-90% humidity so I slapped on my Swiss Meringue icing just happy that it wasn’t sliding back down the side of the cake!
Once you have placed all of the lollies to the top tier balance the packet on top of the balloon stick to gauge the height you would like it to sit. Cut the stick accordingly.
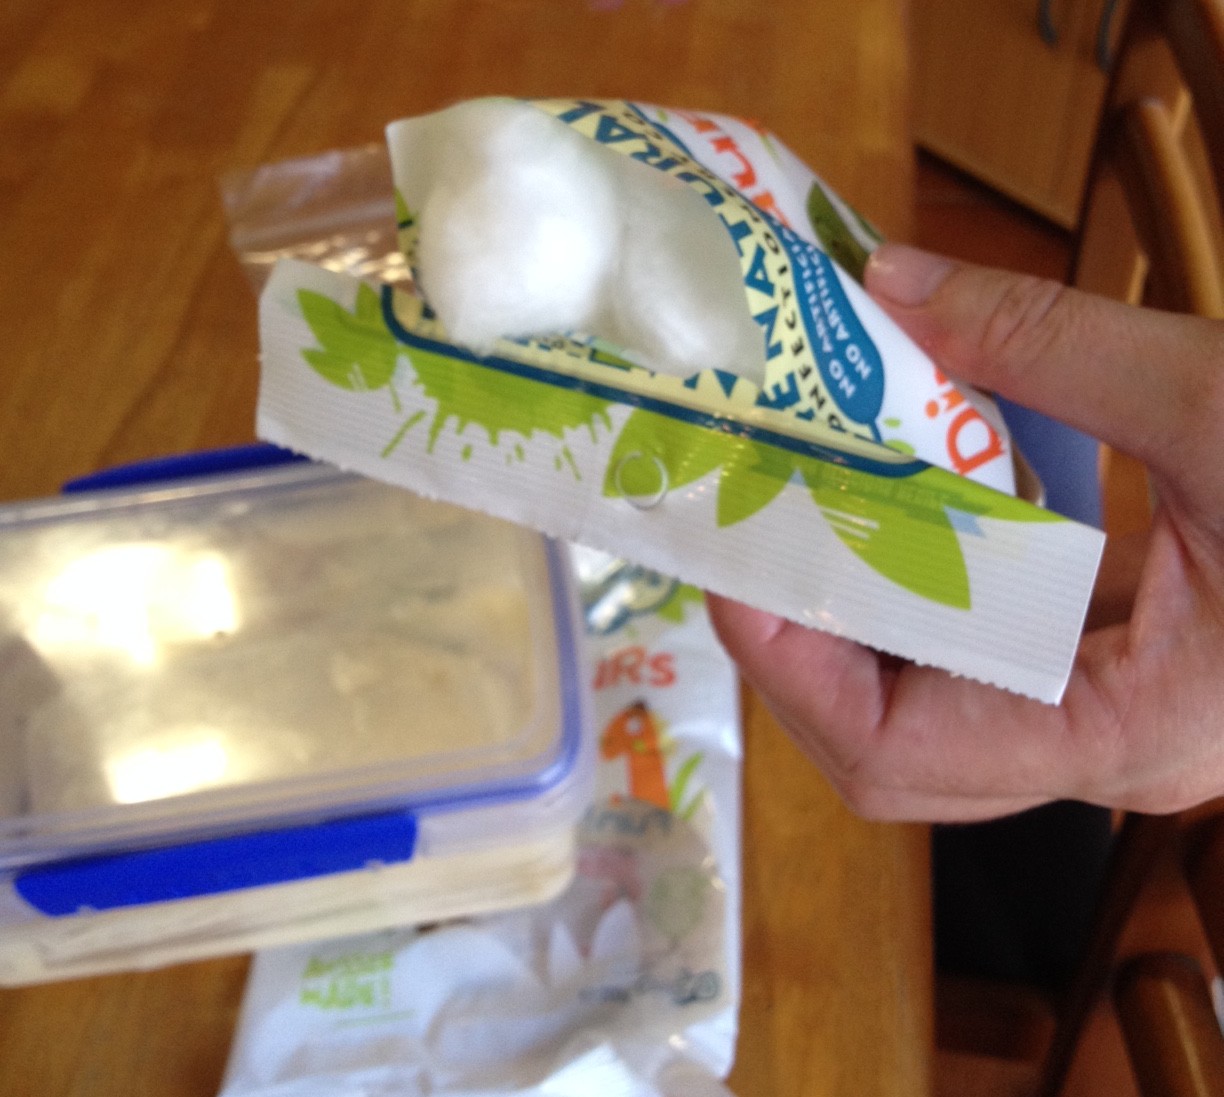
Use cotton balls to make the lolly packet look fuller. Poke the packet on top of the balloon stick. The cotton balls will help it stay in place.
I put the packet in place then ‘glued’ some of the lollies on the stick, then took the packet off again to complete the lollies on the stick and popped it back on before sticking the last lolly or two up near the packet to finish it off. Work out what work best for you, but I did fiddle around a bit with this one. I think it was because the dinosaurs were odd shapes rather than all perfectly symmetrical Maltesers or M&Ms.

Use the melted chocolate to glue the lollies onto the stick. I let my chocolate firm up a little. Too runny and the lollies just slide straight back down.
Build the lollies from the bottom of the stick allowing time to set before going too high. The timing depends on the weather, how firm the chocolate ‘glue’ is and the weight/size of your lollies. Once you do the first few you will easily figure out how long to wait in between.
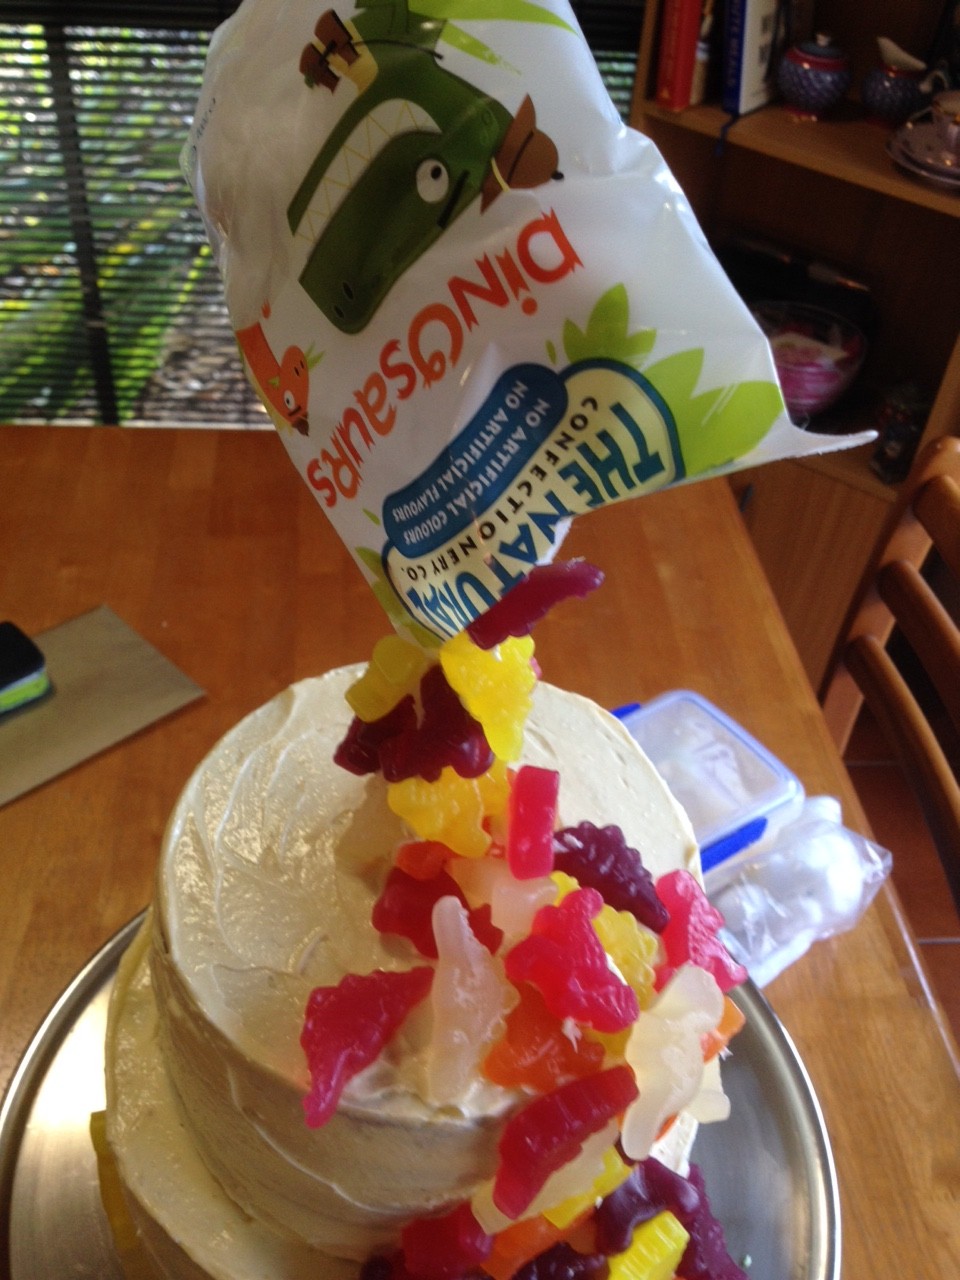
Once you place the packet on top check that the lollies cover all of the stick, even up inside the packet.
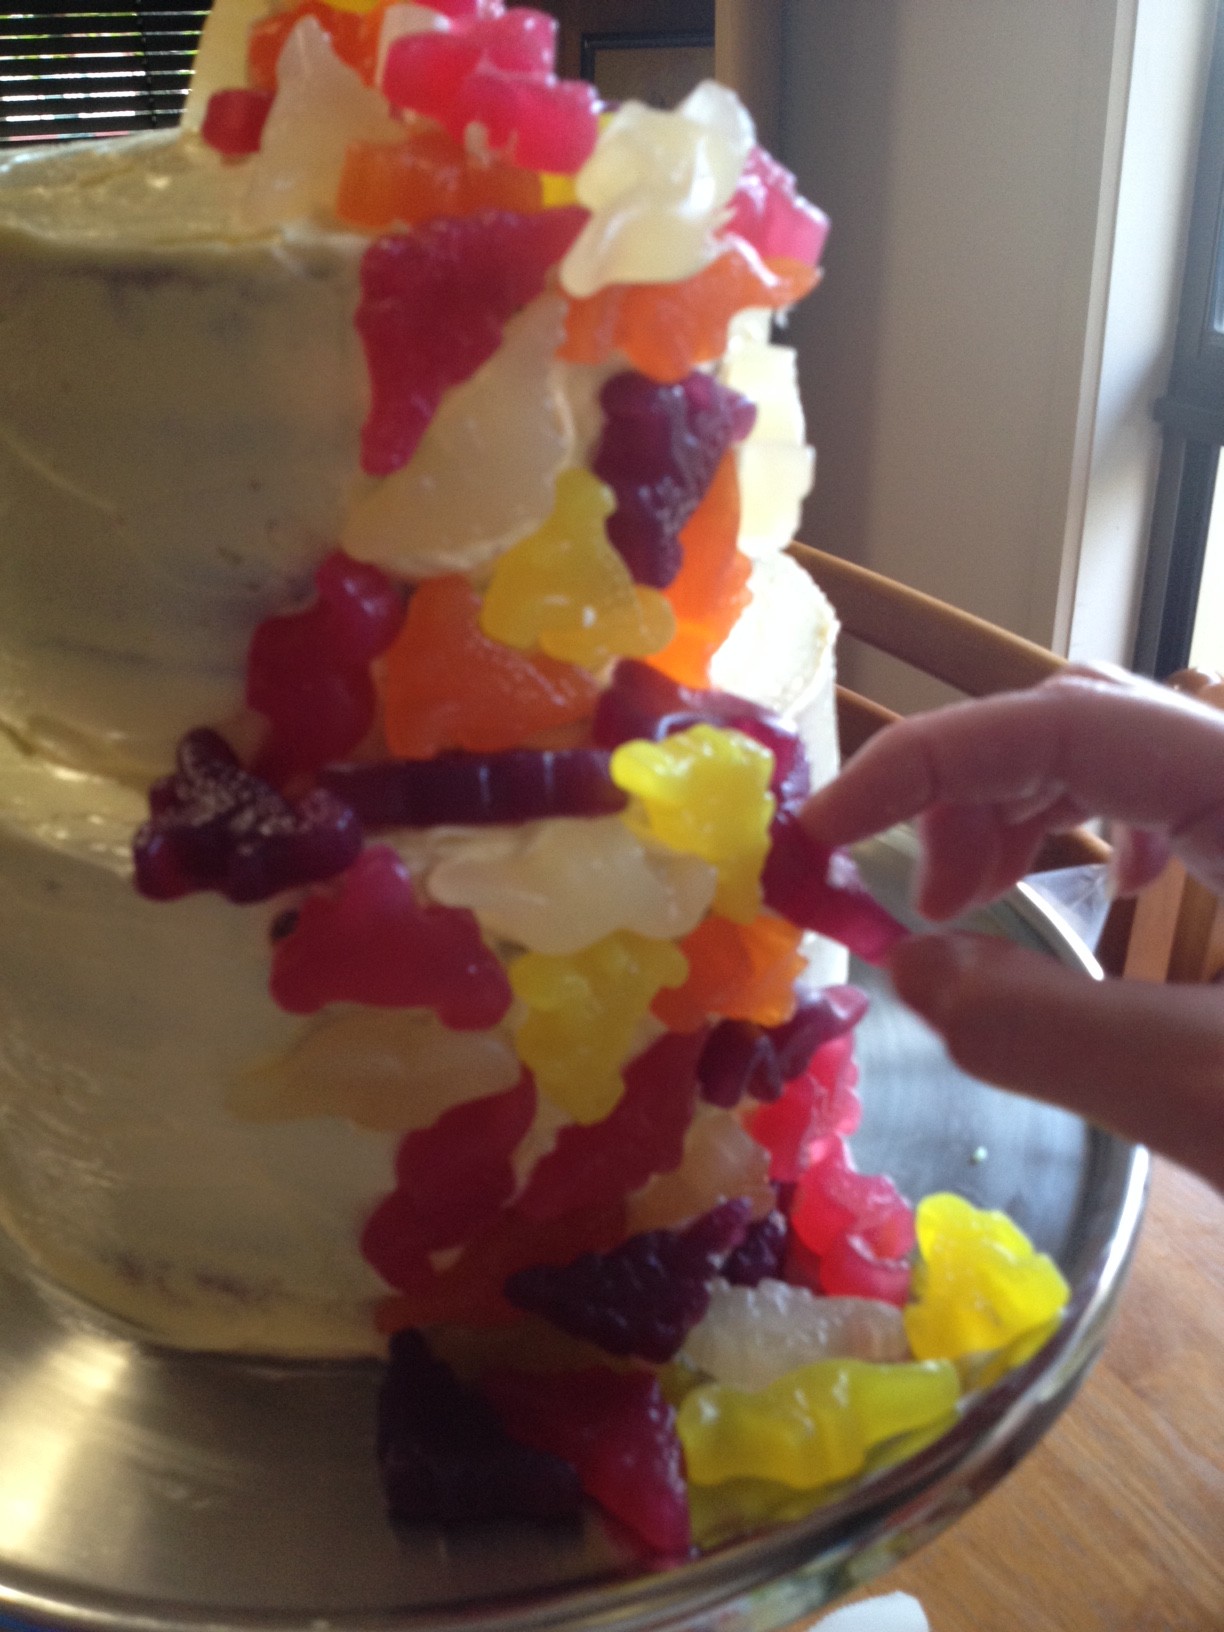
Using the chocolate glue I added some extra lollies on to bulk out the ones flowing down the side of the cake too.

This is me placing some of the dinosaurs in clusters at the back of the cake, just so it’s not bare for those who have a back-view.
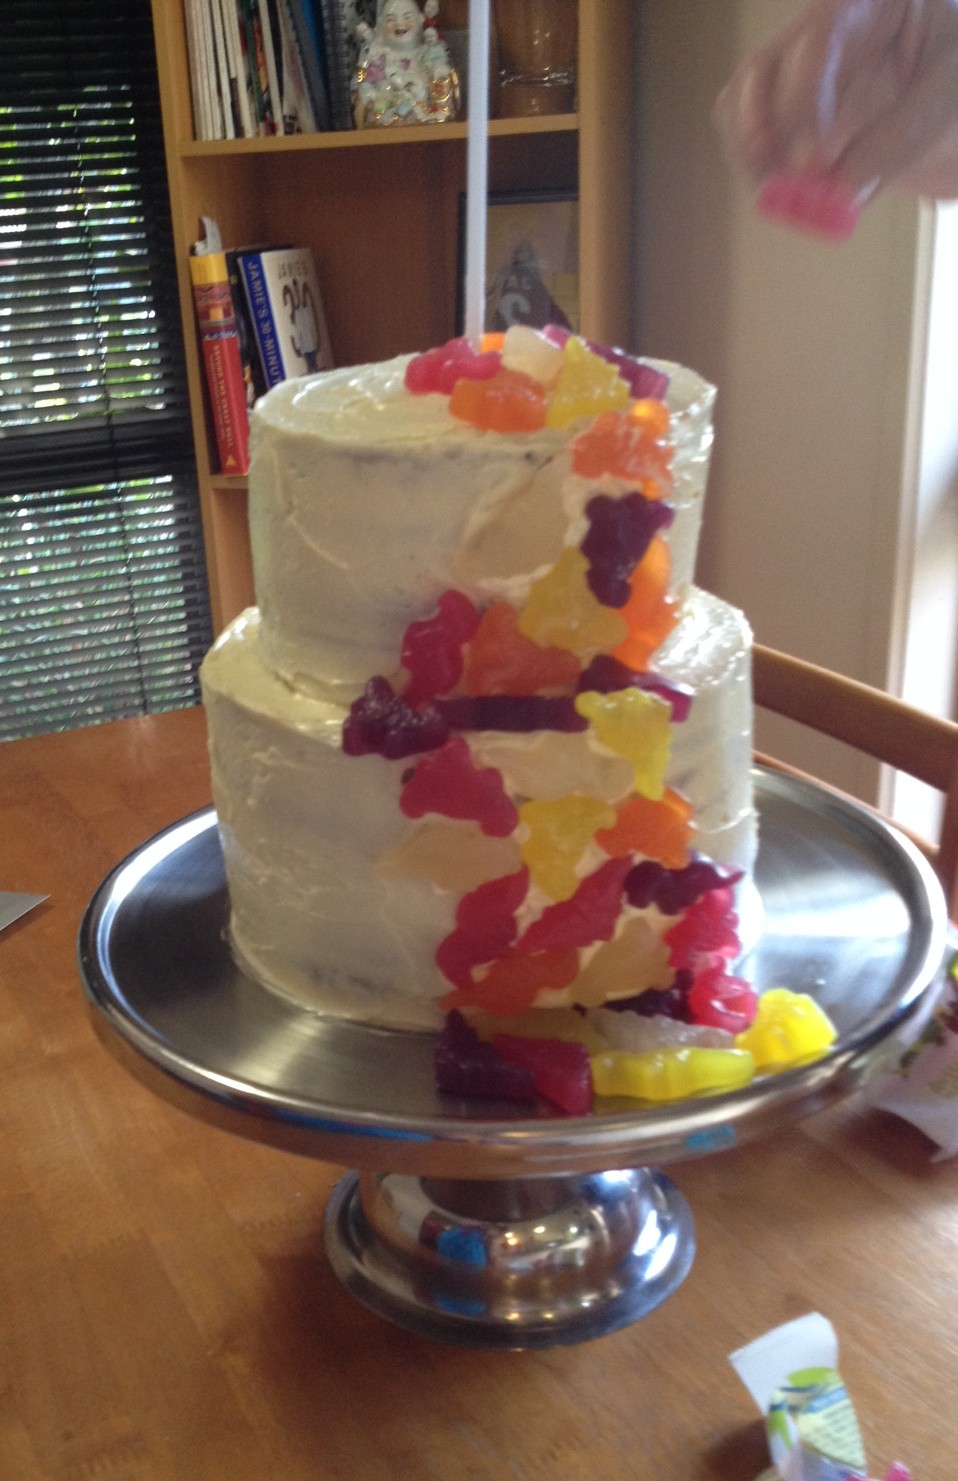
And the final cake…
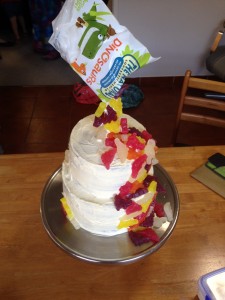
I hope you find this gravity-defying blog useful in creating your very own gravity cake in the near future. Happy Baking …
Sam @Coloured Sugar x


Leave a Reply
Want to join the discussion?Feel free to contribute!