


Gumball Machine Cookies
While I have featured cookies before in the ‘Hoot & Hootabelle Party’ blog, I thought that I would experiment with making a homemade royal icing. I have to say up front that while it worked (and tasted ok) I wasn’t as happy as I thought I would be. Maybe that’s just because I haven’t quite got my consistencies quite right yet…
Anywho, I have spoken to a number of friends who have wanted to make cookies for an afternoon tea or kid’s party; as a one off, and not wanted to pay or source meringue powder. Here in Australia, I have only been able to buy it from specialty cake decorating suppliers and generally speaking it’s about $6-10. For a first timer making cookies for one party that can be an expense that you may not want. I wondered – and this is what I tried – if using a Pavlova Magic Egg would work. They are easy to buy; available in all major supermarkets and only cost around $3-5.
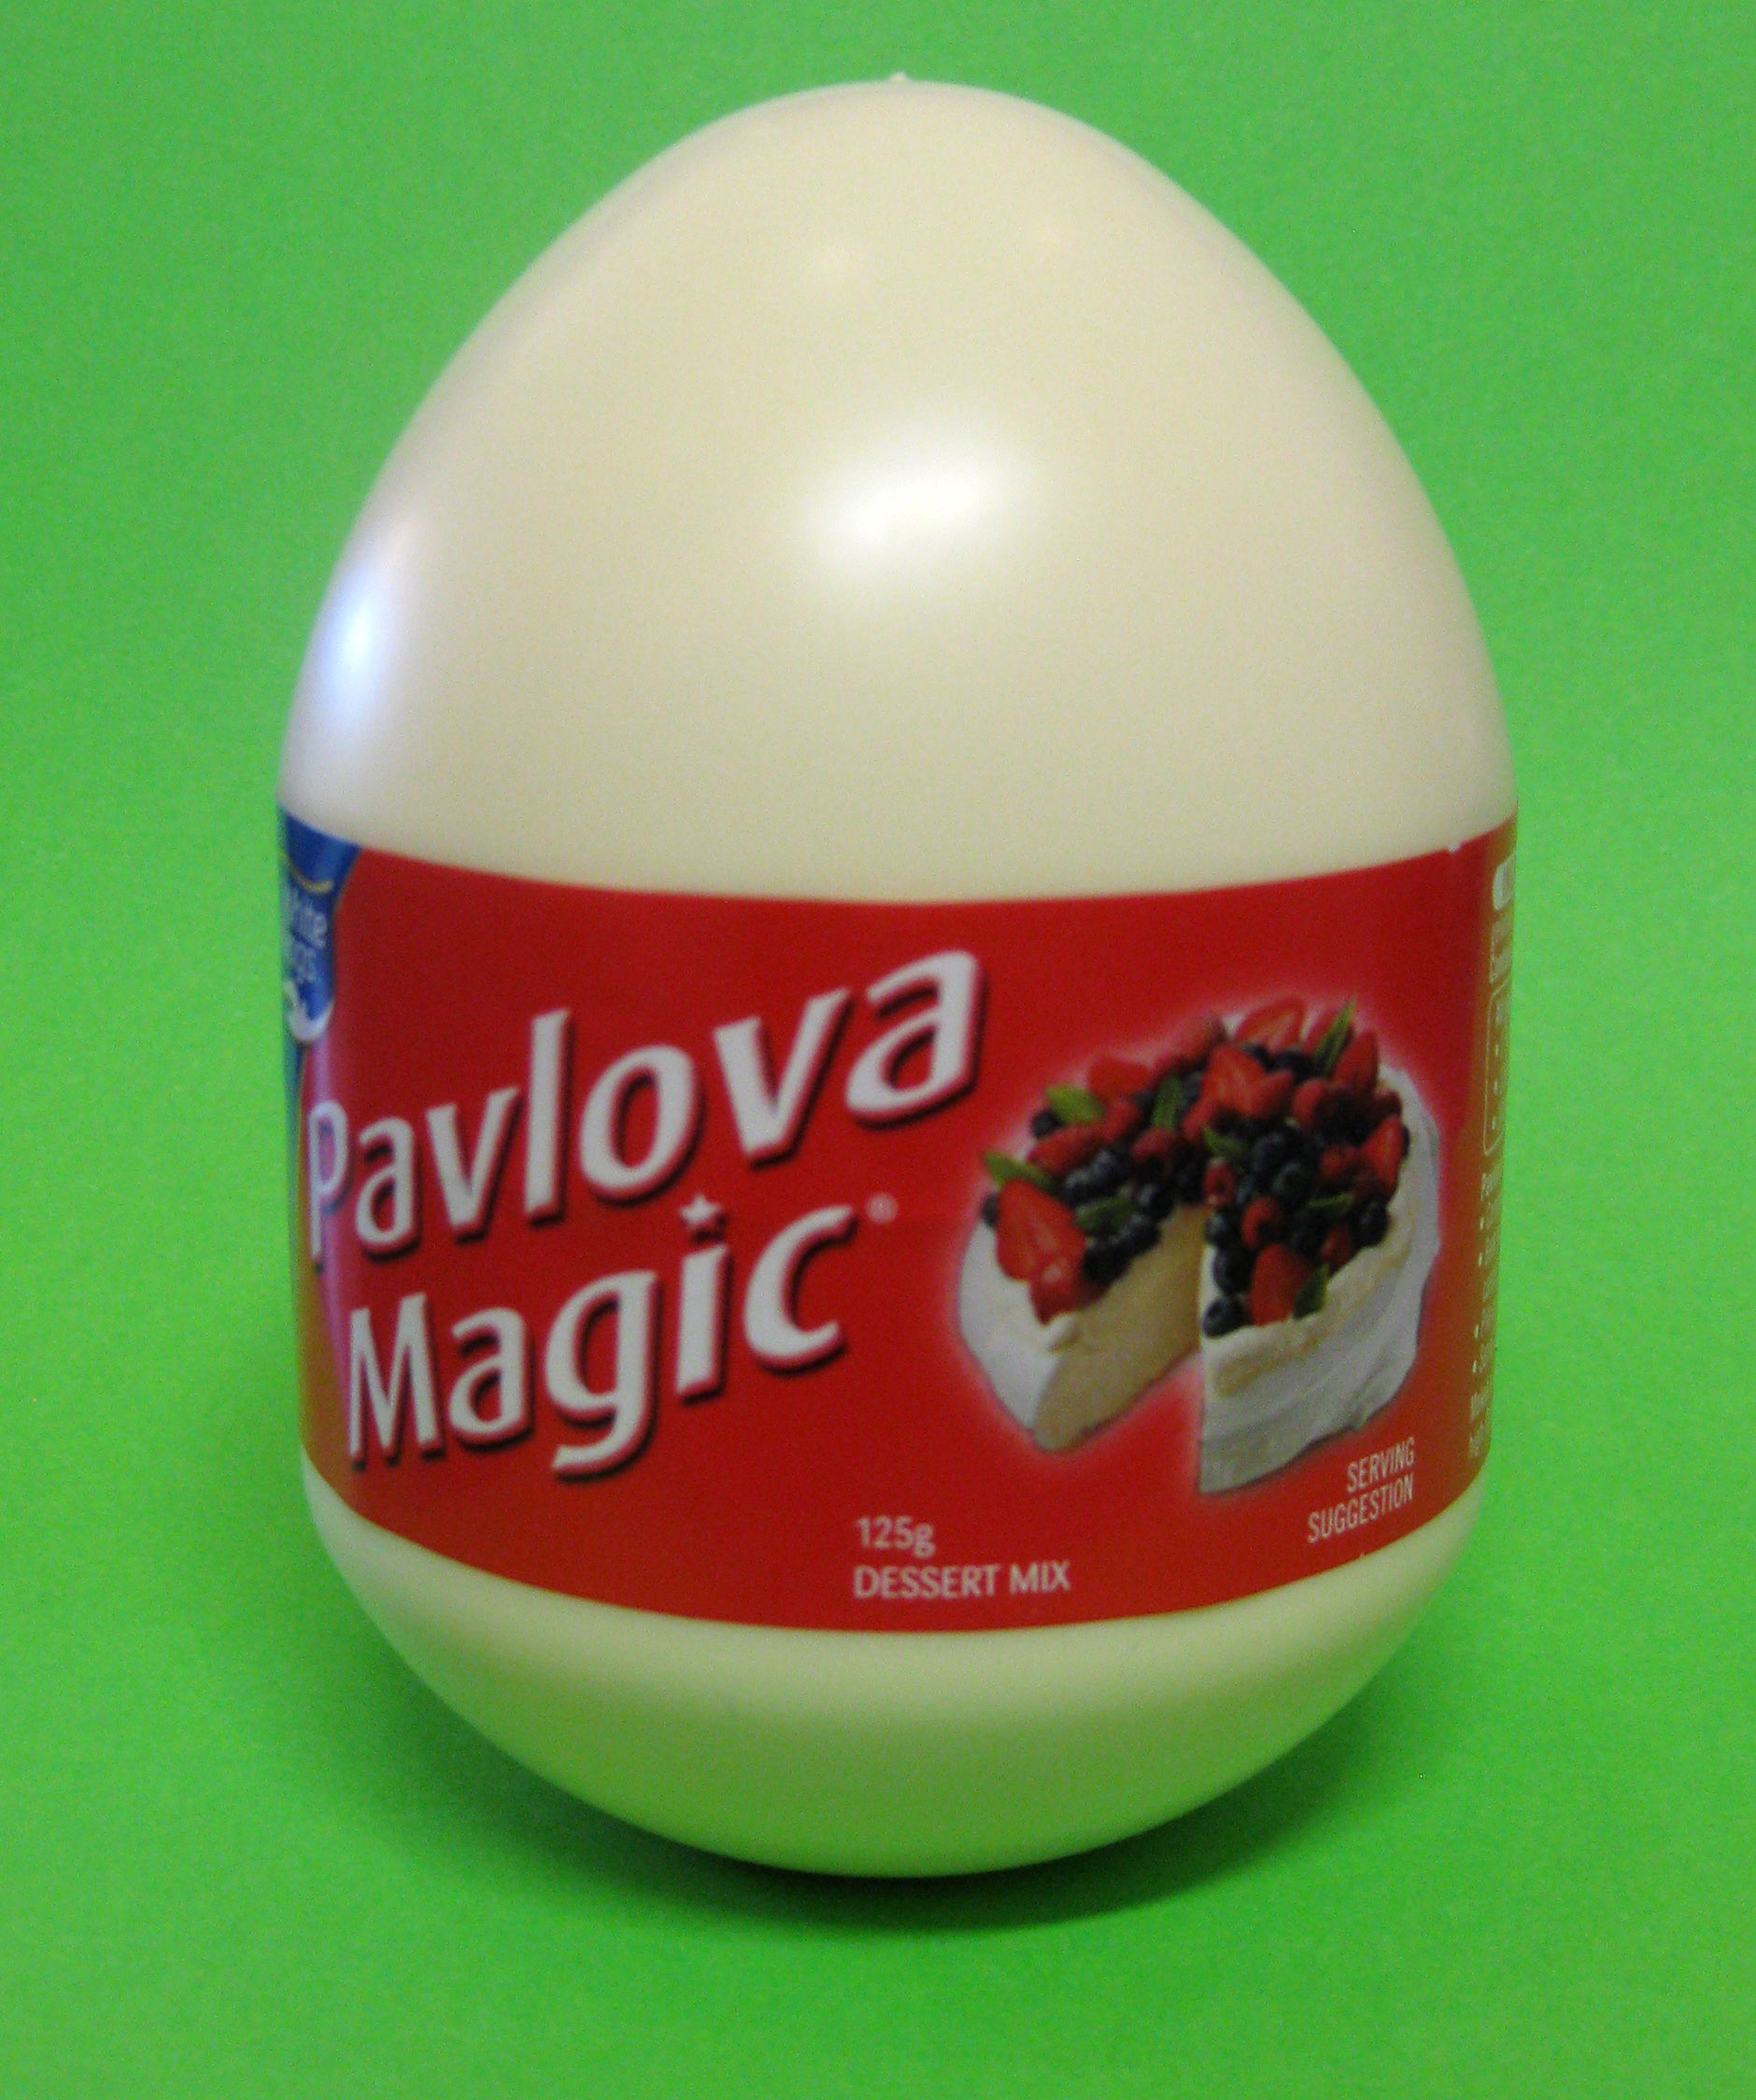
Enough in one egg for 3/4 cup…
Queen Fine Foods has brought out a powder blend where you just add water and mix for homemade royal icing. Again it is available in supermarket cooking isles and costs around $5, but I found that there was some trial and error in the mixing as there were no measurements or clear instructions on the bag. I’m sure it wouldn’t take too long for me to work something out that would make it usable. Oh, and it does need flavouring; it was rather bitter.
ROYAL ICING
By Sugarbell (who I have linked to before – she is my cookie ‘go to’ all the time)
Ingredients
- 2kg (4 bags) icing sugar
- 3/4 c. meringue powder = one pav magic egg
- 1 1/3-1 1/2 c. warm water
- 2-4 tbsp. oil-free extract or flavouring – I used Vanilla Extract
Instructions
- Add the dry ingredients first. Use your mixer’s whisk attachment to incorporate the sugar and meringue powder.
- Add the extract to the water and slowly add it to the dry ingredients while mixing. At first the icing will be very liquid-like.
- Continue to mix it at medium-high speed until it is fluffy and stiff peaks form, about 7-10 minutes. Mixing times are approximate, keep your eye it icing and stop mixing as soon as it becomes stiff. Over mixing and oil-containing extracts can keep the icing from setting up, so keep this in mind as you work.
If you don’t need a whole lot of icing, use this version…
1kg (2 bags) icing sugar
1/3 c. plus one tablespoon meringue powder
3/4c. warm water
To begin, add all of the sugar and meringue powder to the mixer bowl. Mix the dry ingredients to make sure they are well incorporated before adding the liquid slowly.

In the beginning it will look very runny – like warm honey, but as you continue to mix it stiffens.

After mixing and adding colour it is stiff enough for the spoon to stand straight – by itself.
Flood icing…this is the consistency of liquid hand wash and used for filling an are that has been outlined with piping icing to create a dam.
To thin icing to flood consistency use a spray bottle to spritz the icing; mixing after every couple of sprays. You need to work it down to the consistency of hand wash or shower gel. Fill or flood the desired area slowly as to not over fill.
A little tip…if you will let the thinned icing sit covered with a damp towel for several minutes all of the air bubble will rise to the top and you can easily stir them out.
Notes:
- Royal icing and oil DO NOT mix. Make sure all utensils are oil free, including any bowls, bottles and containers you would be using. Wash them well in hot water, and give them a rub with lemon juice or vinegar before using them.
- Royal icing keeps for a long time. If you need to refresh it, you can fluff it up again with the mixer, and it will be like new.
- In humidity, add a little less meringue powder and add a little cream of tartar. Cream of Tarter is a stabilizer and will help when it’s humid.
- Royal icing will keep at least a month. Sugarbelle says she prefers refrigerating it, but it can also be left at room temperature.
So now you have an idea or two for making your Royal Icing – you’ll need some cookies I guess…this is the same recipe as the Hoot and Hootabelle cookies.
Again I got this recipe from Sugarbelle, it’s perfect as is needs NO REFRIGERATION in the process. Mix it. Roll it. Cut it. Bake it. Easy! I have altered the original recipe for Australian bakers as this is an American recipe with measurements and temps for USA bakers/kitchens.
The Cookies
Ingredients
- 1 c. {two sticks} of REAL unsalted BUTTER, softened 113g = one stick
- 1 1/2 c. confectioner’s sugar
- 1 egg
- 2-3 tsp flavoring {pick what you like, I prefer almond}
- 2 1/2-2 3/4 c. all-purpose flour
- 2 tsp. baking powder
- 1 tsp. salt
Instructions
- Cream together softened butter and icing sugar. Crack the egg into a separate bowl, and add the flavouring. Add that to the butter sugar mixture and mix until the egg is thoroughly incorporated. In a separate bowl, sift together the flour, baking powder and salt, then add little by little to the mixture. You can tell the dough is ready when most of it sticks to the paddle. When you touch it, it has a little give but does not stick to your fingers.
- Roll out on parchment to about 1/4 an inch thick, use flour for dusting as necessary. Then, cut and bake at 200 degrees celcius for 7-8 minutes. This version makes 2-2 1/2 dozen; doubled it makes 4-5 dozen.

This is the dough after mixing. It firms after standing for a min or two and holds together well.
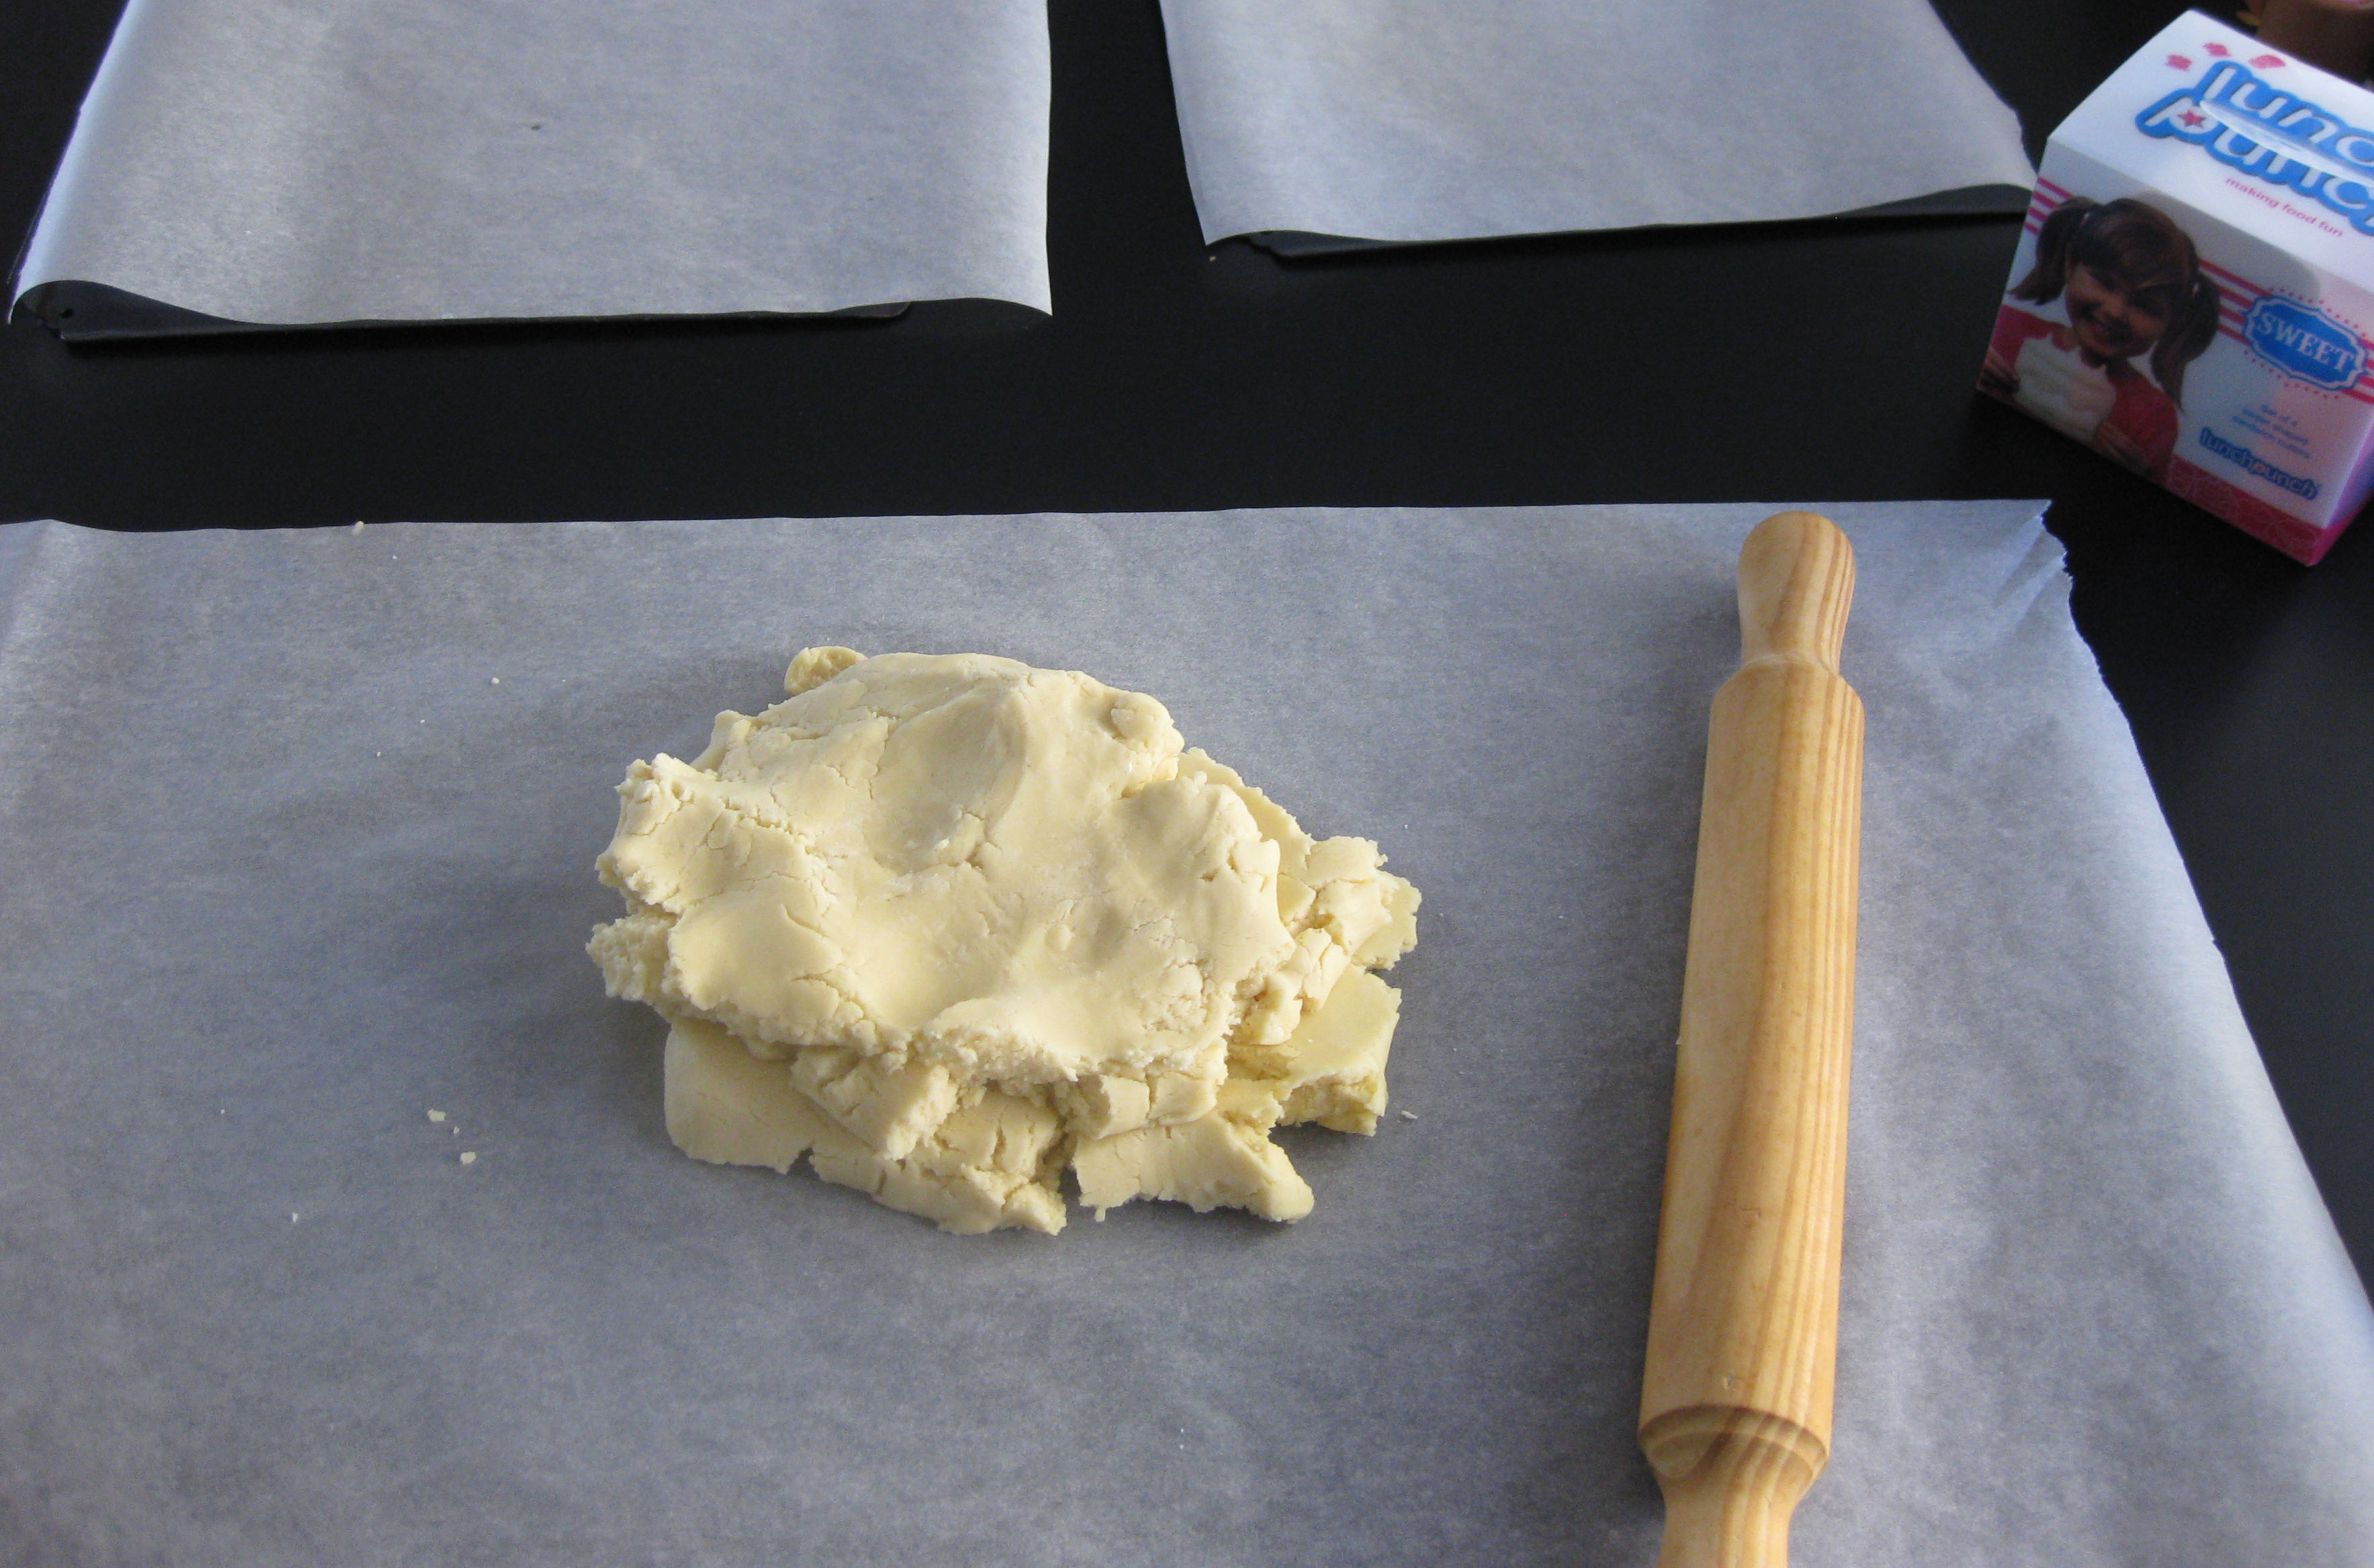
I always make sure my cutting area is ready to go. It allows the rest time for the dough and means I can cut and lay out the cookies without fuss. Trays prepped and ready to take cut cookies close by are a must.
Notes:
The dough DOES NOT need to be refrigerated. That’s why I like it – and it’s quick and easy even when Miss 4 helps out 🙂
The dough needs to rest a little after mixing, it will firm up a little bit after a minute or two
Baking times are approximate. Know your oven. Watch them the first few times and do not over bake. If the cookies are browning you have gone too far.
This dough can be flavored any way you like.
The cookies freeze well
This recipe does spread a little. If you don’t like that add a little flour.
If you don’t like salt, leave it out altogether. If you only have salted butter, use that and reduce the salt.
Decorate day-old cookies as they are less likely to leach butter back into your icing if they have had a day or two to dry out. They will still be soft.

Outline the area with piping icing. When that has set, it form the dam for your flood icing that you have thinned with the spay bottle.

These have been piped, flooded in two colours and are drying before the final colour is added. It is important to allow the icing to dry or you will have bleeding between colours (or if you try to work quick then you will no doubt smudge them!)
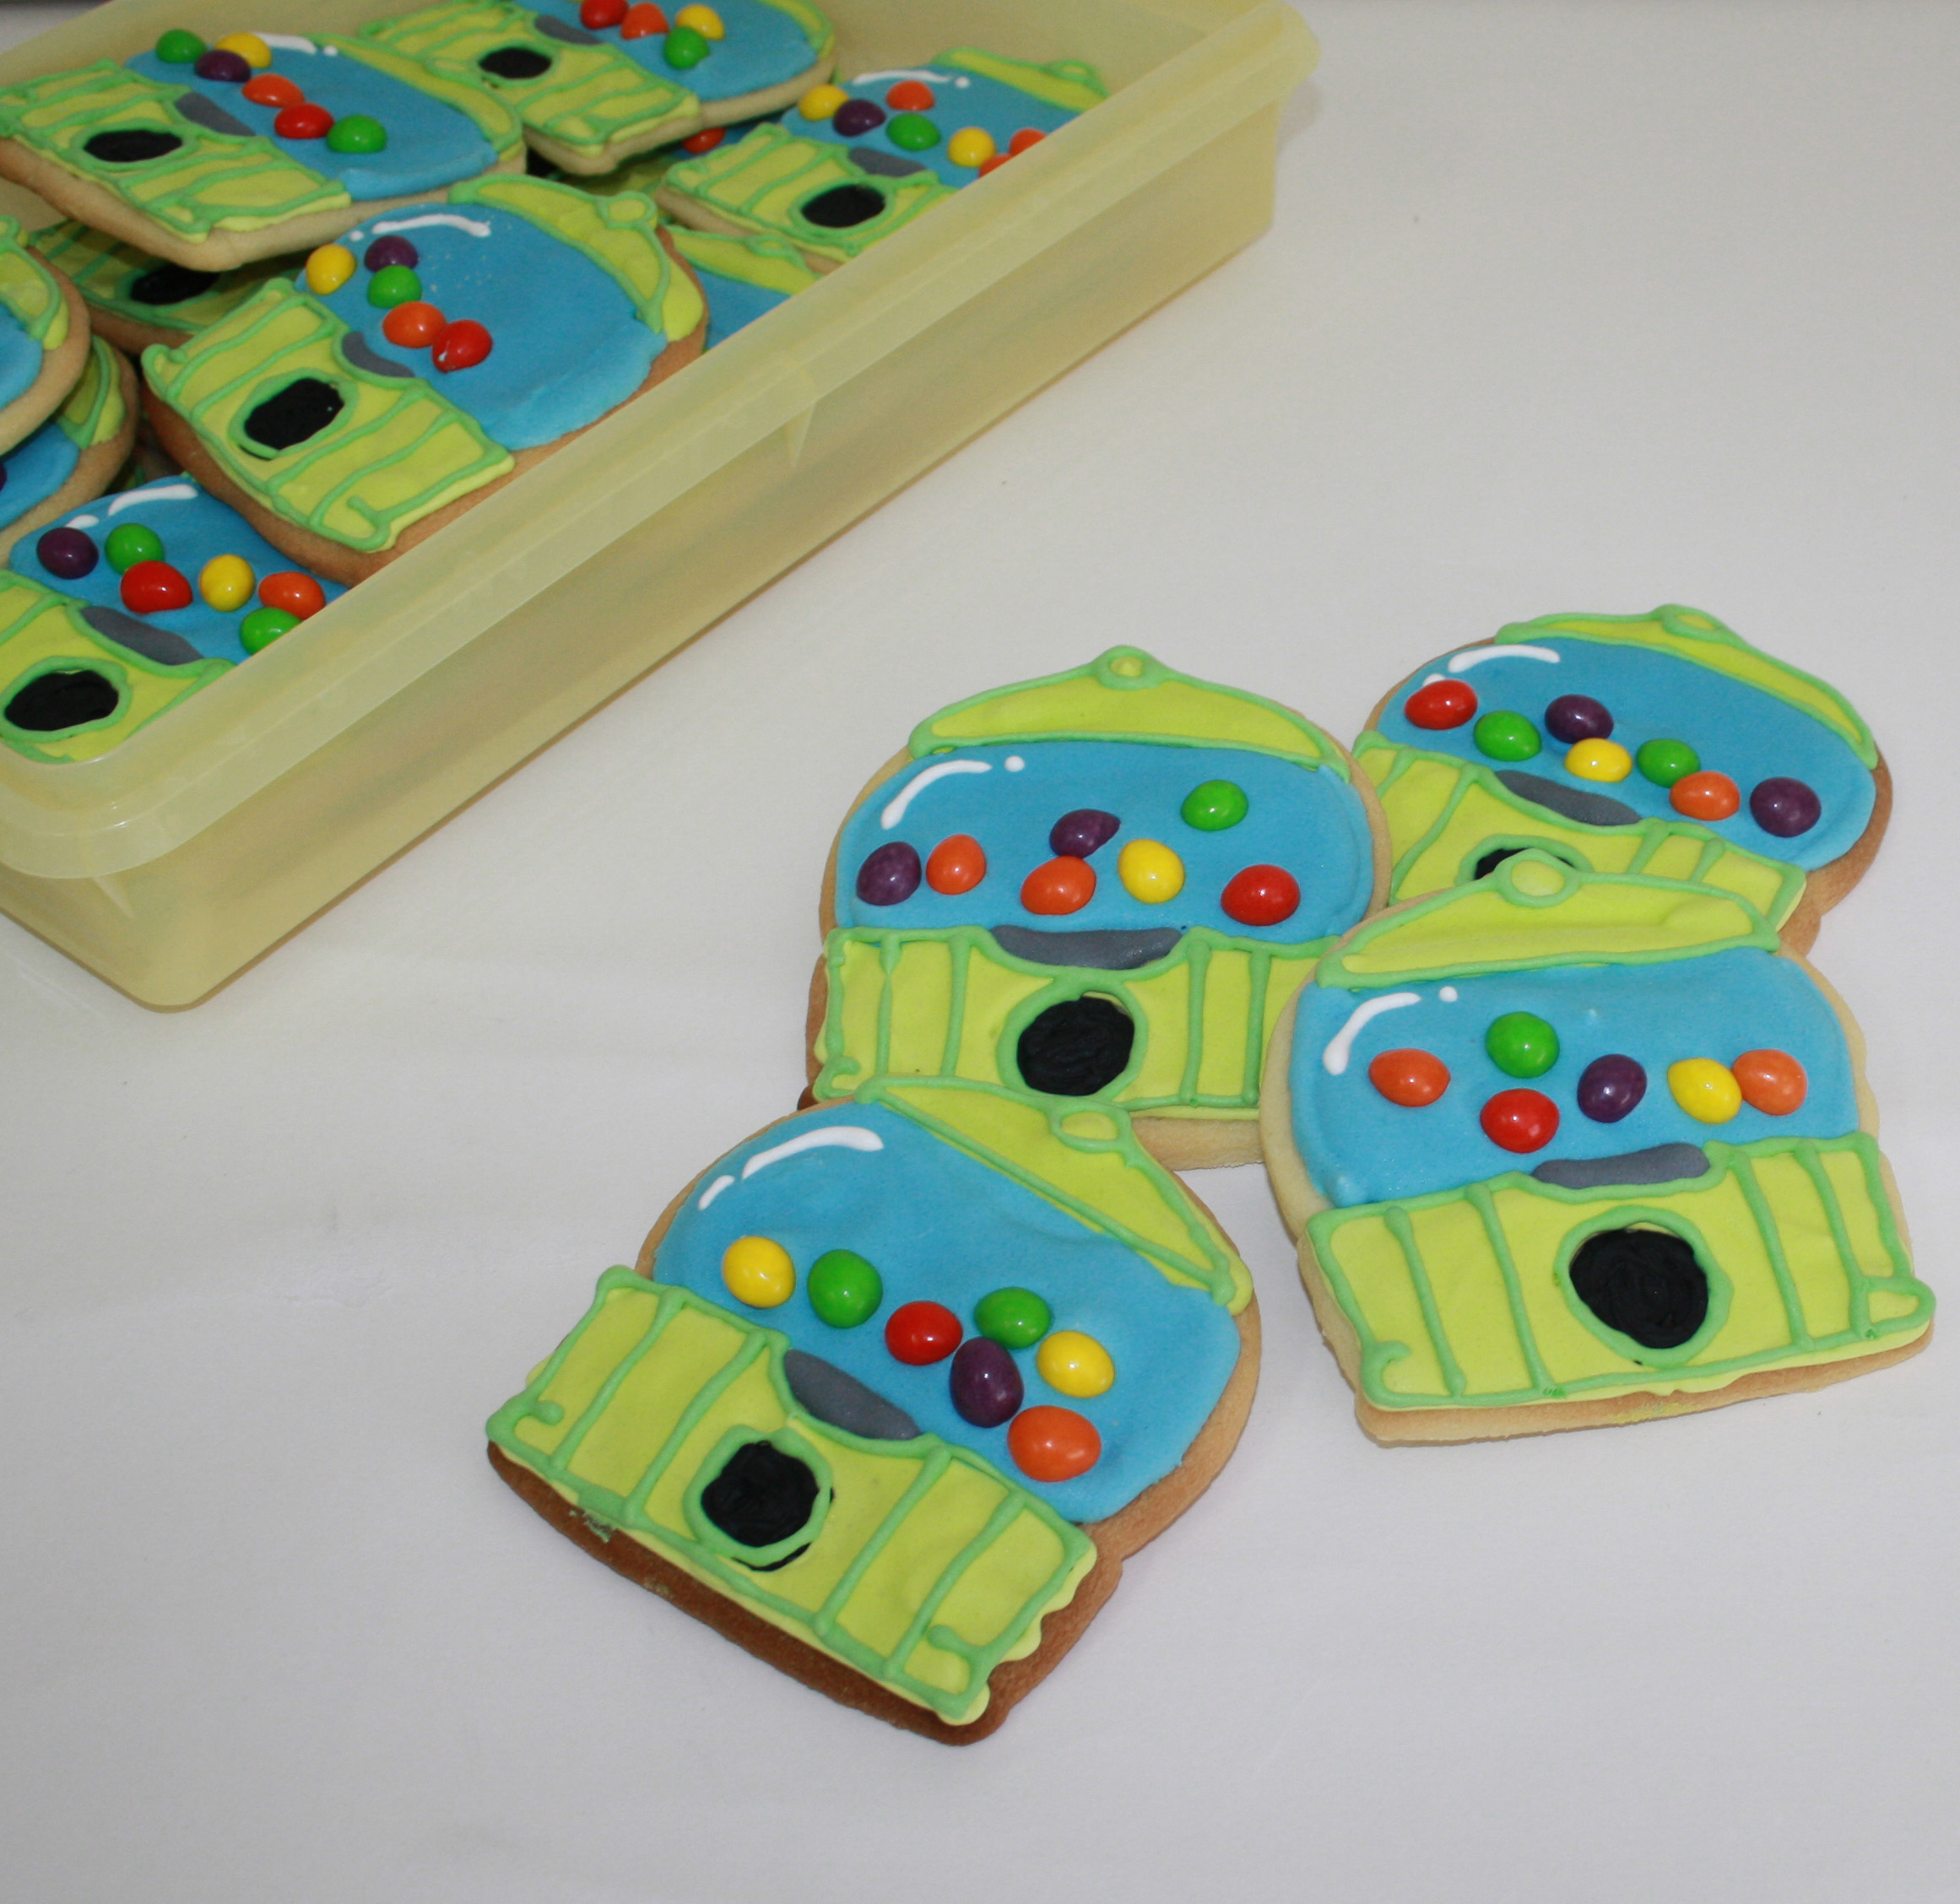
Completed cookies…

The ‘gumballs’ are chocolate buttons or smarties that are added to the wet icing to set in place. the whit ‘shine’ on the glass is piped on at the very end.
Enjoy playing with homemade Royal Icing and happy baking…


Leave a Reply
Want to join the discussion?Feel free to contribute!