A Basic ‘How To’…Fondant Cakes
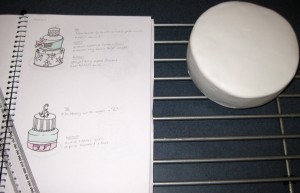
Since my first attempt at fondant decorating I have worked out that making and decorating always takes so much longer than you may think. Decorating it on the day is a definite ‘no, no’ and I always sketch out a plan first (the plan can always change – even as you are making it, but at least you have something to go by). If you need a certain cutter or tool, it pays to shop for it at least a week or two in advance. That way you won’t pay exorbitant prices out of desperation and you’ll allow time to go to a few different places if they are out of stock. It usually takes a minimum three or four days – depending on the details – to achieve a quality finished product..stress free (now you know why they cost so much).
Tip: If you have planned the cake and know that you will need fondant figures, flowers and other sugar decorations that you can do ahead of time, I usually do them up to a week before which allows drying time…and time to fix things if they go wrong.
So knowing that it will take around three or four days to properly make and decorate the cake – without rushing it, choose a day that is best for baking the cake that gives it enough time to cool properly before you store it. Most cake recipes say that they can be kept in air tight containers (Tupperwear is another addiction of mine!) for up to a week, or frozen for around one and a half to two months. Always remember though, to check with the recipe that you are using as different recipes and ingredients store differently. Usually, I only make my cake four days before its needed. I have a few good cakes on my Recipes page which I will continue to add to.
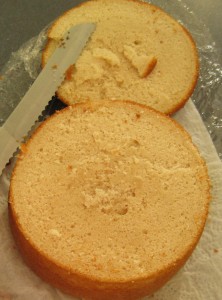
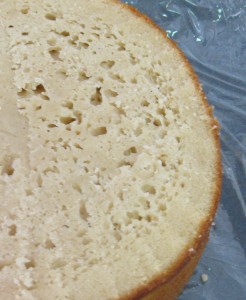
See the difference in the textures of these cakes. The top cake is what you want (I did this one in my bench-top mixer). The bottom one is over mixed and full of air bubbles.
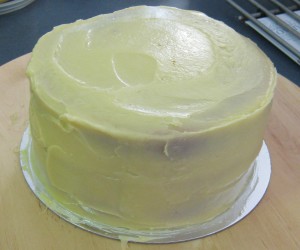
The next step is to cut and ganaché or butter cream your cake. I now prefer to ganaché my cakes, as I get a better finish and find it easier to use (it tastes better too) – but it is more expensive. The recipes I use for ganaché are from my Planet Cake book, but I have written them out here for you. There are a few steps to this, but if you get it right it sets a good foundation for your final decoration.
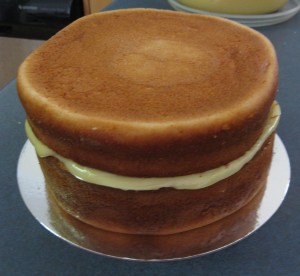
First, slice your cake into 2 or 3 even layers, I usually invert my cake too so that the top is perfectly flat. You can even swap it into the middle layer if you have three. Brush each layer with syrup – I don’t always do this, it depends on the cake but it stops it from being too dry and adds flavour.
Place the cake onto a set-up board (a thin cake board the same size as the cake – see below), then fill and build the layers with the ganaché. Apply ganaché to the sides and remove excess, then ganaché the top.
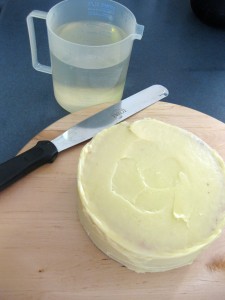
To get a nice smooth, even surface you will now need to ‘hot-knife’ the ganaché. By placing a long palette knife into boiling water and heating it up you will be able to smooth over the surface of the ganaché. I do the sides first, then the top and finish off by doing the sides again – leaving the excess that sticks out above the top edge. Leave the cake to set and use a hot knife to cut the overhanging bits from the top edge. Working with a turn table really helps the precess. I don’t have one, but find using my lazy susan works just as well.
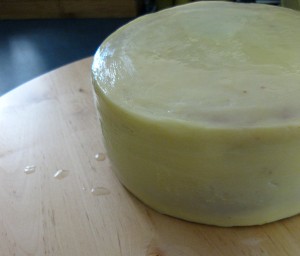
Let it sit to go hard, preferably overnight.
The final step to covering the cake is the fondant. You will need to make sure that where you are working is clean and dry.
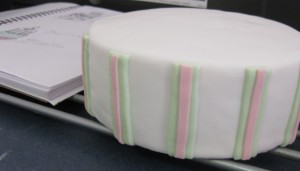
I stick the cake on to the cake board that it will be displayed on using royal icing – I buy my royal icing, just from the supermarket, it’s easier than making it and works fine. Brush the cake all over with syrup to adhere the fondant, clean up any drips. I use ready to roll fondants like Satin Ice, Regal Ice and Bakels so remove from packaging and work it until its smooth and pliable. To roll out the fondant you are going to need to dust the bench with cornflour or use a fondant mat so it doesn’t stick. Once its rolled out to the desired size (make sure it fits the cake!) and thickness, you’ll need to lift it and drape it over the cake. Run your hand over the top surface to remove any air bubbles and smooth along the top edge and sides of the cake. Finish off by using fondant smoothers to press the icing against the sides and trim using a pizza cutter – you could use a sharp knife, but this might pull at the fondant and tear it away from the cake.
*To help with the process I found a short video for you to see how it’s done here with Alan Tetreault from Global Sugar Art




Leave a Reply
Want to join the discussion?Feel free to contribute!