Baby Shower Cupcake Toppers (Milk Bottles)…
I promised a few weeks ago that I would write tutorials in a number of instalments for my baby shower cupcake toppers – and started with the baby faces. Here is instalment number two: The Milk Bottles 🙂
If you thought the baby faces were easy then you should be able to do these with your eyes closed. As usual, you have the choice of pre-coloured RTR fondant or you can colour your own. When colouring it yourself, I prefer to do it a day or two before using it as this allows the colour to fully develop and gives you plenty of time to get organised. As I use fondant not gum paste, I kneaded through some tylose powder a pinch at a time to achieve a more pliable, easily workable consistency. It also allows the fondant to set hard.
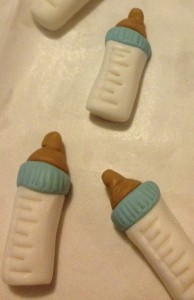
For the body of the bottle I used a white fondant – just like a milk filled bottle. As this was a baby shower for a boy, the screw-top at the neck of the bottle was blue, but you could obviously do these any colour you like…green, yellow, purple, pink. Finally, the teats were a tan colour, but again any colour you like. I used a coloured theme for this set of toppers, so that they all matched even though they were different.
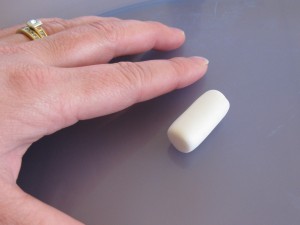
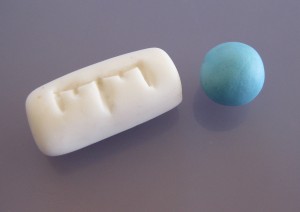
Start with rolling the white fondant into ‘snakes’ about the same thickness as your index finger. Using a pizza cutter or a paring knife, cut them into pieces just under an inch long – use your judgement and know the size of the cupcakes you’re making them for.
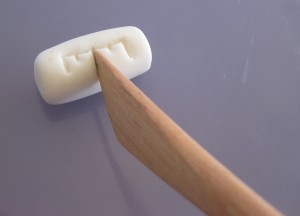
Using a fondant tool, the back of a knife or skewer mark the top side of the bottle with lines to mimic the measurements on a baby bottle. It’s small, simple details like this that really make your decorations effective.
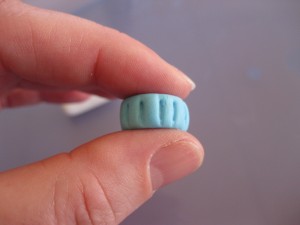
Mark the same way you did for the bottle – don’t push too hard and keep it between your fingers to help hold the shape
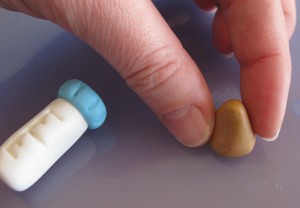
With the blue fondant, roll balls about the size of large peas. Press them between your thumb and forefinger to flatten them slightly, and with a tool or knife mark grip lines around the edge. They can be attached to the body of the bottles with a small brush of water or gum paste/fondant glue.
To finish the bottle, roll pea-sized balls with the tan coloured fondant to make the teats. I pinched the top of the ball shape while tapping the ball gently on the table. This flattened the bottom and started to form the shape of the top of the teat at the same time. So the top didn’t come to a sharp point I moulded it further and rolled it around until I was happy with the shape – you don’t want them too thin and pointy. Use the fondant glue or water to attach to the bottle.
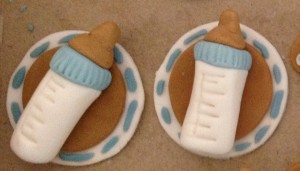
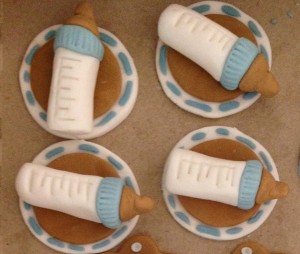
I completed the toppers by cutting two different sized circles from the white and tan fondant and stuck them together with the bottles on top. The stitches were added to the outside edge of the large circle with blue fondant. Roll a thin string of fondant and cut into pieces before attaching with glue or water. I then pressed them flat with a balling tool, but you could leave them raised if you like.
I left the toppers to dry and harden before placing them on top of the cupcakes, but they could be placed directly onto the cupcake so they take the shape or form of the cake.




Leave a Reply
Want to join the discussion?Feel free to contribute!