Hoot & Hootabelle Party
Last month was my second daughters’ 1st birthday. As a typical ABC4KIDS watcher she grooves to the popular ‘Giggle and Hoot’ musical numbers, so I went with a Hoot & Hootabelle theme for her party – and of course the cake. Something I did that was a little different (and possibly another new hobby!) was instead of putting together lolly bags for the kids to take home, I made cookies – that also fit the theme – and made matching thank you tags too….each child, and most adults, took a cookie each as a token of thanks for sharing the day with us.
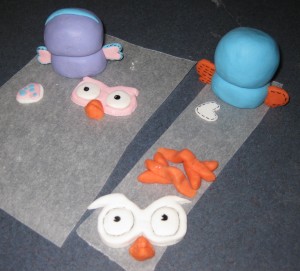
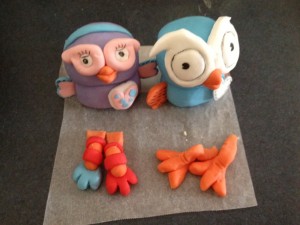
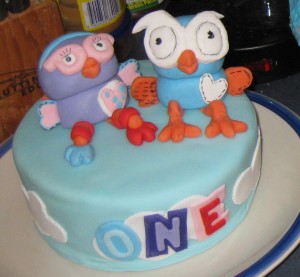
Hoot and Hootabelle Cake Toppers
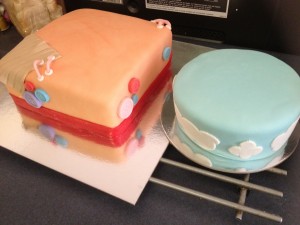
The Cake
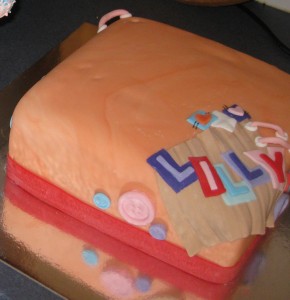
The theme of the cake was to fit with the recycled cardboard house that Jimmy Giggle and Hoot live in, with the top tier being the sky where Hoot and Hootabelle fly. The cakes were a Vanilla Fudge cake with a white chocolate ganaché.
Decorations
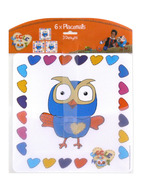
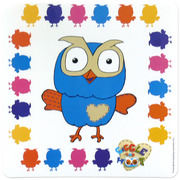
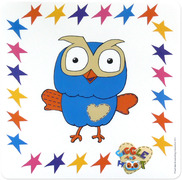
I had Hoot and Hootabelle posters from the ABC shop and a few little colouring page characters that had been hand coloured to match the blue, orange and purple balloons and theme. I also found some Hoot placemats to put on the tables – there were six in the pack and from the ABC shop too. The girls were even dressed to coordinate, with one wearing a Hoot shirt and the birthday girl having a Hootabelle top.
The Cookies
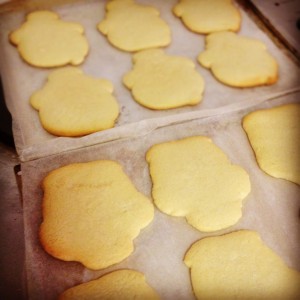
So I had this grand idea, as usual, of doing something a little different and I thought that little Hoot/Hootabelle cookies on a stick would be so cute for the kids to take home. I searched for weeks looking for a cookie recipe that I thought would be easy, quick, cost effective and tasty. I knew that I would have to cut the shapes by hand as they were going to be specific characters, but wasn’t too worried about how I was going to do the icing (I just knew I had two options royal icing and piping bags or cutting shapes from thinly rolled fondant). While searching for a recipe, I noticed that many of them – especially for cutting and holding shapes – had a number of stages that required the dough to be refrigerated. Which obviously adds to the preparation time. I came across a blog from the USA and this lady was amazing. Her cookies are edible, little artworks. I read her blogs, checked out her gallery of cookies and checked her recipes…her cookie recipe didn’t have any steps for refrigerating the dough, so that’s the one I went with. Thanks Sweet Sugarbelle, I will definitely be using this recipe again…and again!
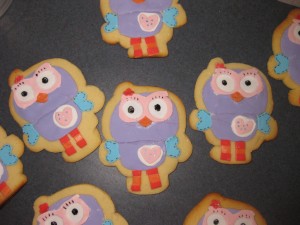
I made two batches of cookies, one Hoot and one Hootabelle. They were fast, easy, cost effective and definitely tasty. I even had dough left over to cut some small shaped cookies for the party table. I made the cookies the day before I decorated them, as suggested, and used fondant rolled out very thinly to cut my shapes and make the characters. It was a little time consuming, especially as I had to do the cake too, and next time I’ll have to try piping some royal icing.
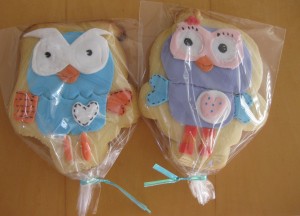
The little thank you tags were made in Photoshop using candy stripe patterns and buttons. Each cookie had a matching tag that said “I hope you had a Hoot-Hoot!’, they were bagged up in little cellophane bags but I discarded the stick/pop idea – something else I’ll have to try another day.
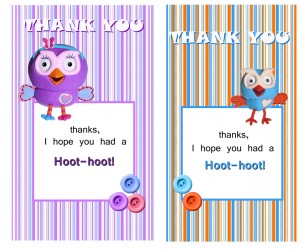
I made these tags in Photoshop, copied and pasted them so that there were about 12 on a page then printed them.
The great thing is, no matter what theme you decide on, any of these ideas work for a kids party…..





Leave a Reply
Want to join the discussion?Feel free to contribute!