Jukebox: My Rescue Kit
I tried something a little out of the ordinary this week. A cake ‘rescue kit’ that was designed and packaged by The Baker Girls – Lisa & Lou at Cake2TheRescue. After making cakes for all the family and friends’ parties, I was determined to make a birthday cake this year for me. I ‘liked’ the Cake2TheRescue Facebook page quite sometime ago, it’s a really nifty idea and although I do like to design and create my own cakes, I wanted to purchase one – even if it was just to see the kit (girls gotta love a parcel delivery!).
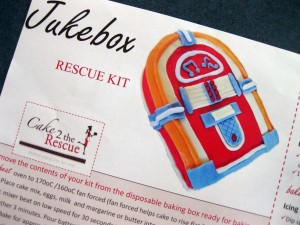
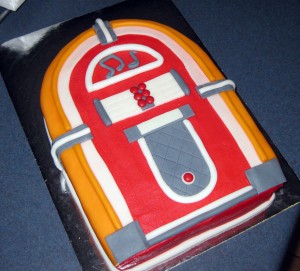
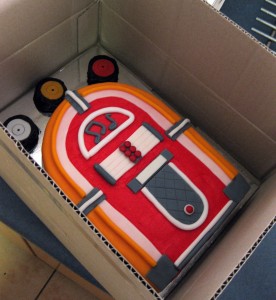
As you can see above the cake looks like a red, orange and blue Jukebox. It comes with grey fondant, not blue which was a bit of a bummer but no the end of the world.
I have to say upfront that this was super convenient. I had surgery on Tuesday, so getting to the shops to buy the things I needed, let alone think of designing and doing a cake was almost out of the question. My birthday was Saturday (yesterday) and I ordered my kit online Wednesday night (really late so it would’ve been processed Thursday). My order was express posted to my door and I received it Friday morning. The kit contained everything – except milk, butter and eggs…but who wants that in the post – to bake and create the cake I chose. There was even a rolling pin and cake server!
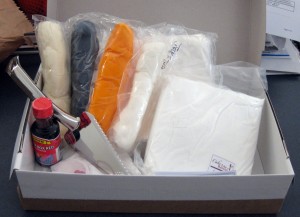
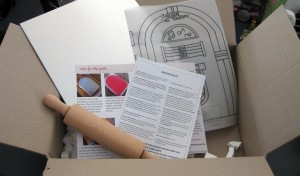
This box contains food colouring, fondant, cake mix, icing mix, cake server, lollies…and the box it is sitting in, is the box you use to bake it.
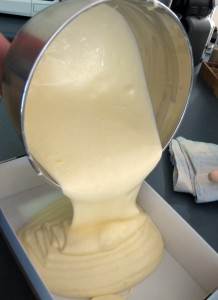
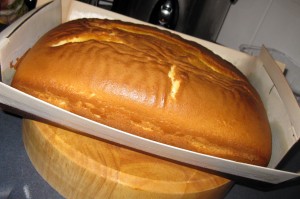
No planning or designing, no shopping or finding car parks…all this delivered and ready to go. All I needed to do was bake the cake in the waxed box provided, cut into shape using the template and decorate according to the instructions. Easy! And without the added stress…Fun!
As usual, I couldn’t just do it as instructed. I added my own touch and used the off cuts to make a little something extra.
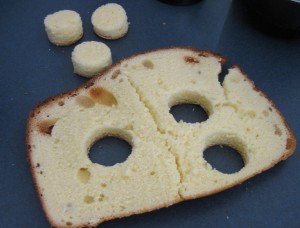
Levelling out the top left me with a large piece of left over cake. Using a round cookie cutter I cut a few shapes to add to my design later.
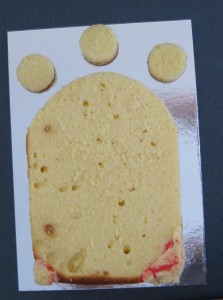
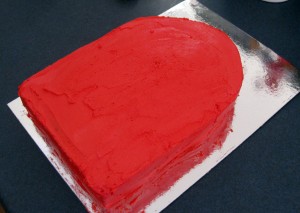
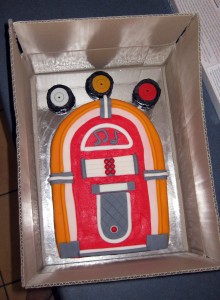
Using the template, cut shape and build/carve where needed to create a flat surface for decorating. My three extra shapes fit at the top of the board too…
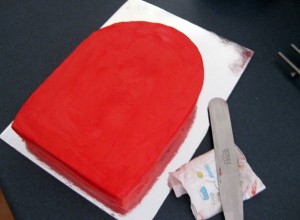
Ice the cake with a second layer of frosting that will hopefully be crumb-free and run a hot knife over the top to smooth your surface. Be careful you don’t melt your frosting!
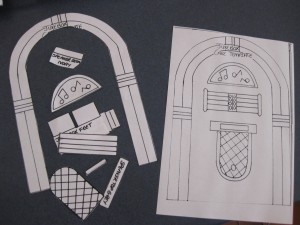
I have a photocopier so making multiple copies of the templates made cutting shapes and placement of shapes easy too.
But I did a little extra if you remember…The three little cakes that I made to hold the candles were decorated with black butter cream frosting that I already had and the fondant from the rescue kit (there was plenty). They were also the perfect size for the kids after dinner without having to cut them a full piece of cake (even if they did have black teeth – oops!).
The box that the kit was posted in was the perfect size to fit the cake board so it came in handy when travelling to the restaurant too.
I had an awesome time creating a ‘no-fuss’ cake that looked amazing two days after surgery. Thanks Baker Girls for making this popular cake trend fun and convenient for everyone, not just those of us who like to bake and create on a regular basis. xx




Wow looks great Sam, and so easy! Thanks for sharing.
Hope you and the family enjoyed the finished product:)